Contents
Consider bleeding the brakes in these circumstances:
- Stopping time is longer than normal
- There’s a brake line leak
- Your brake pads are worn out
- If any braking system components were replaced, such as the master cylinder, caliper pistons or brake lines
8 Steps to Bleed Car Brakes
It’s always best to reference your vehicle’s service manual for maintenance and repair instructions. The guidance in the user’s manual is provided by the manufacturer, and is specific to your vehicle. In the meantime, this overview will provide good general guidance.
 Gather Materials
 Gather Materials
Here are the tools you need bleed your brakes:
- Floor jack
- Jack stands
- Lug nut wrench or socket/ratchet
- Box-end wrench, sized for bleed screw
- Penetrating oil
- ¼-inch clear plastic tubing
- Brake bleeder wrench
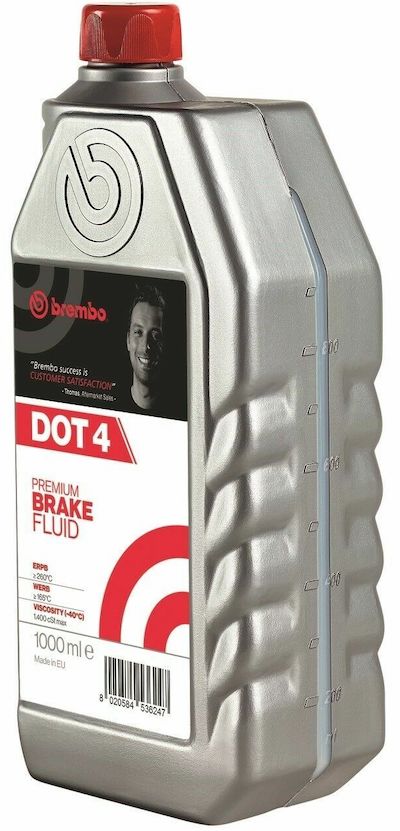
Also, don’t forget to have new brake fluid. Most cars use DOT 3, but your vehicle might have a special requirement. It’s best to keep two or three 12-ounce brake fluid containers on hand when bleeding the system. Don’t be tempted to buy a large bottle. Once a bottle is opened, the fluid can begin to absorb moisture from the air and will go bad if it sits for too long.
Remove Wheels
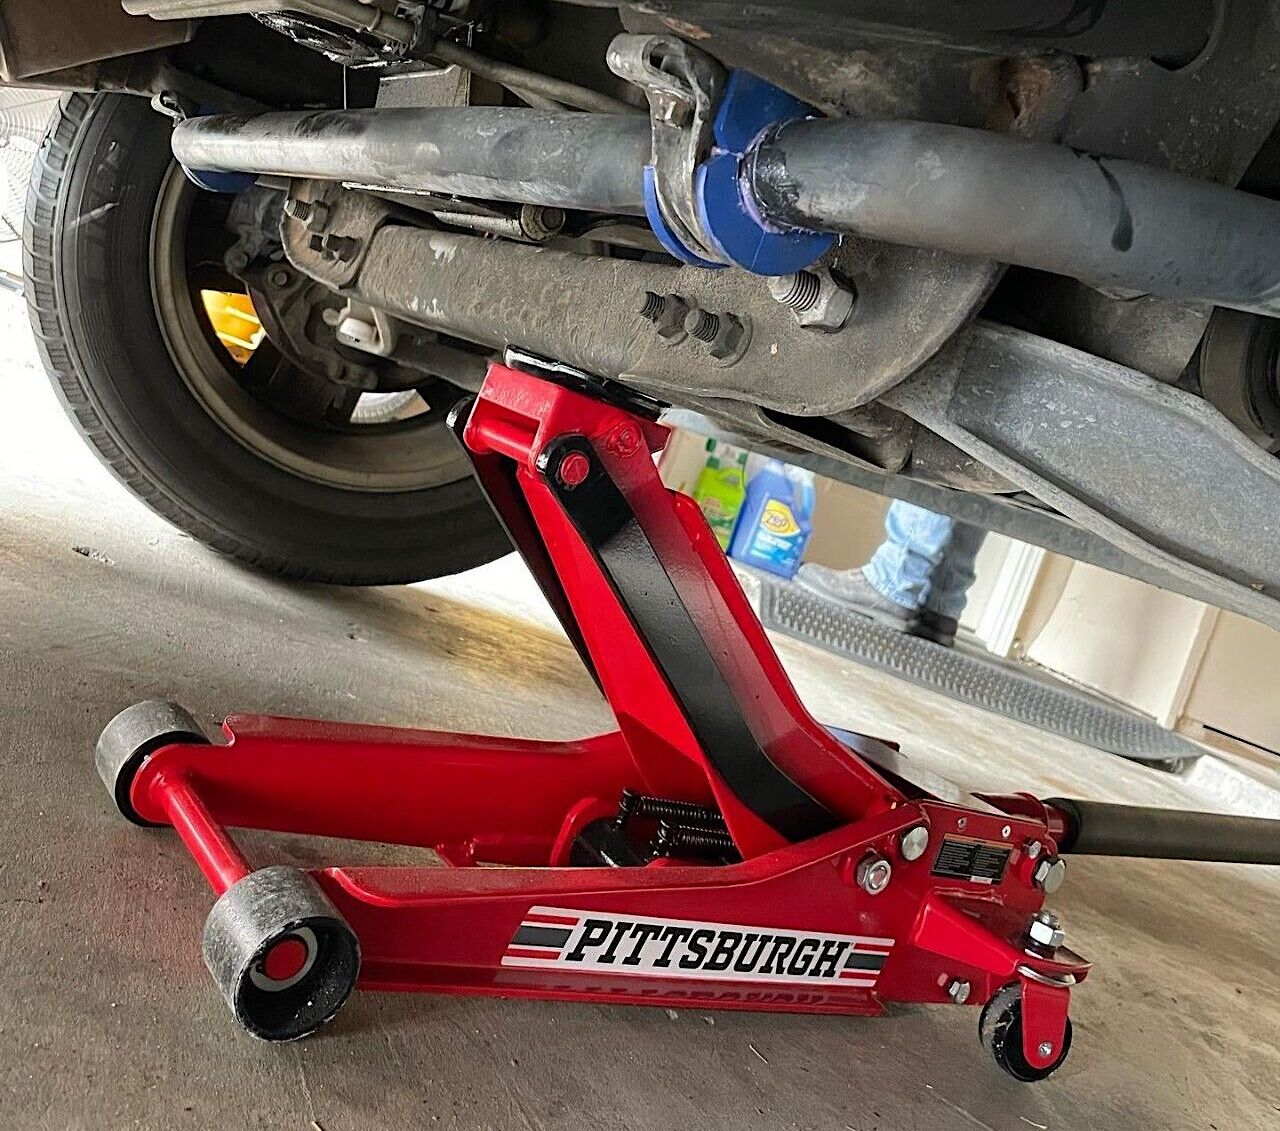
Park your vehicle on level ground. Use your floor jack to safely lift the car. Use jack stands to secure the vehicle off of the ground.
With your lug nut wrench or socket and ratchet, remove the lug nuts from the tires. Put the lug nuts in a secure location so they don’t get lost.
Take off each wheel. Once they are off, the brake caliper assembly becomes exposed, so you can bleed the brakes.
Loosen Bleeder Screw
Find the bleeder screws. There are four of them, one with each wheel. These are otherwise known as caliper bleed screws or bleeder valves.
- On a disc brake, they’re located at the top of the caliper assembly.
- With drum brakes, you’ll find them on the rear of the backing plate.
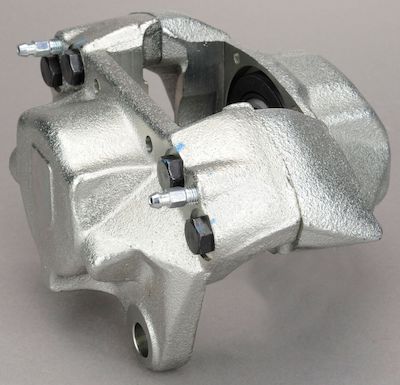
VW bus brake caliper with bleeder valves
With your box-end wrench, loosen up the bleeder bolt. Do not twist with too much force.
If the bleeder screw is stuck, spray it with penetrating oil and allow it to soak for 30 minutes before trying again.
After loosening all of them, secure them back in place. They must be closed to prevent air bubbles from getting into the system during the process.
If you strip or snap the bleeder bolt, you will need more help. Consider talking to a professional mechanic for repair.
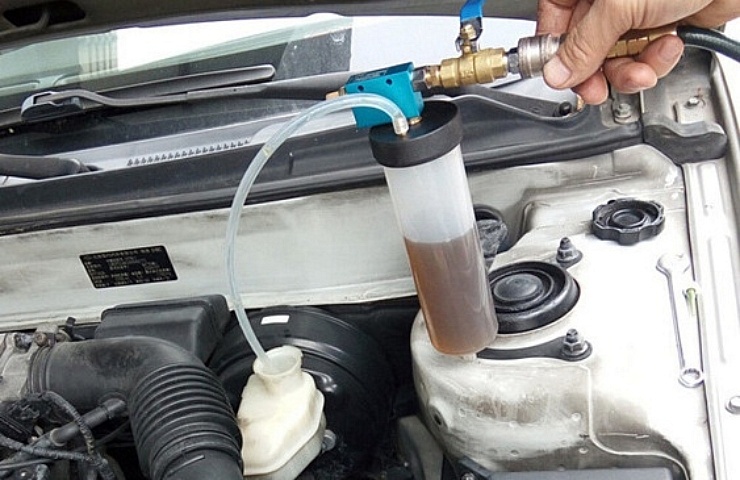
Check Brake Fluid
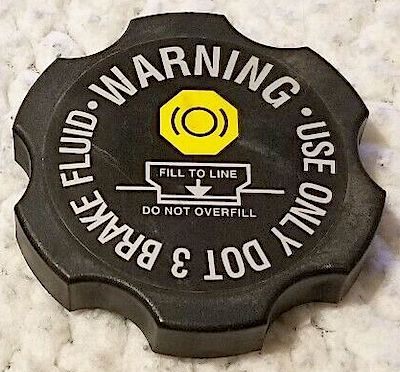 Before you can bleed the brakes, you need to check the fluid. The brake fluid reservoir must be full the entire time.
To check the brake fluid:
- Open the hood.
- Find the brake fluid reservoir.
- Pop open the cap on the master cylinder.
- If the fluid is lower than the maximum line, add more.
Put the cap back on the master cylinder, but leave it unscrewed. You want quick access, but your goal is to prevent air from infiltrating the system.
Read this: How to Check Your Car’s Brake Fluid
Prepare Screw Opening
Start by working with the brake that’s furthest from the master cylinder. Normally, you would start with the passenger-side rear wheel brake, but some cars have a different order.
- Take ¼-inch thick clear plastic tubing and put one end on the bleeder screw.
- The other end should go into a disposable bottle with clean brake fluid.
This step ensures that air doesn’t get sucked back into the system while you are bleeding the brakes. If you don’t want to put brake fluid in the bottle, make sure the tubing is long enough to hang the container above the bleeder screw.
Engage Brake Pedal
This step will require a helper. With your car engine off, you are ready to perform the following.
- Have your assistant pump the brake pedal a few times before holding it down.
- When the pedal is pushed down, use your brake bleeder wrench and open the valve. Trapped air will push old brake fluid out of the line into your jar.
- Once the pedal gets near the floor, the assistant must alert you.
- Close the bleeder valve.
- Have them release the pedal.
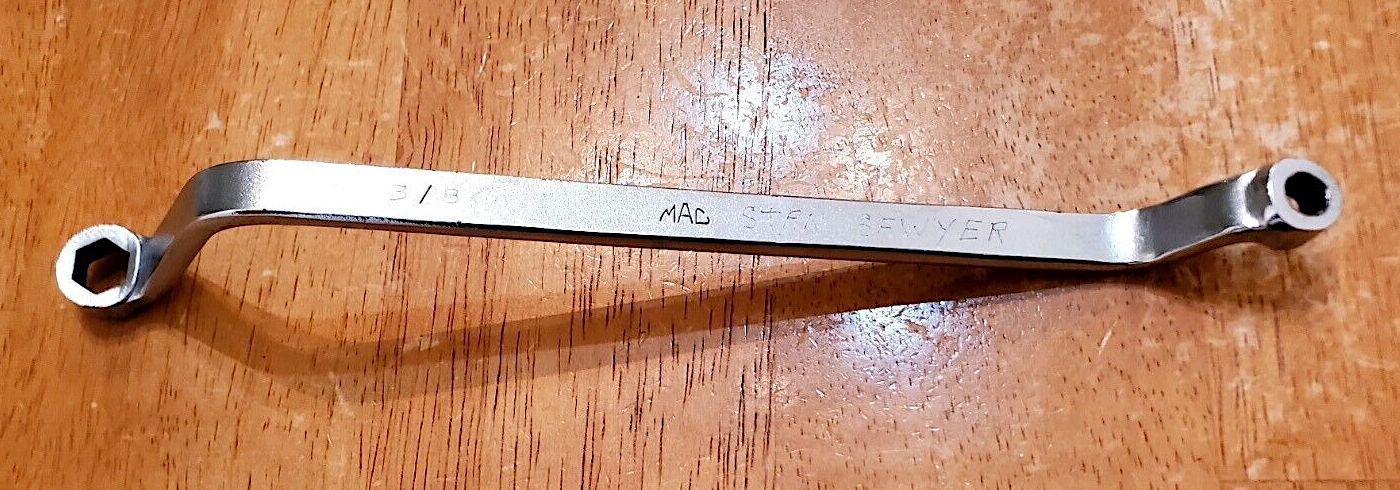
MAC brake bleeder wrench
Continue to work through this process until no more bubbles enter the jar with the fluid.
Perform on Every Brake
Now that you’ve bled one of the brakes by following these instructions, it’s time to finish with the rest of the system. Repeat the last step for the remainder of the brakes.
Most vehicles require a sequence that begins with the rear wheel on the passenger side. From there, you’ll move to the rear wheel on the driver’s side, the front wheel on the passenger side and the front wheel on the driver’s side. To get the sequence for your vehicle, look in the service manual.
Shop now for brake padsAfter you work with each brake, check the fluid level. If more is required, add it before it gets too low.
Check Your Work
Have your helper press down the brake pedal while you watch the fluid level. Your helper should abruptly release the pedal while you observe what happens.
If the fluid is only slightly agitated, the bleeding was done correctly. On the other hand, if the fluid erupts, there are still bubbles in the system. You need to repeat the bleeding process.
Once you are finished, reinstall the wheels and carefully lower your vehicle back to the ground. Go for a test drive to see how the brakes feel.
What Is the Easiest Way to Bleed Your Brakes?
The easiest way is to let gravity work for you, but this method takes some time. Fill up the master cylinder with clean fluid. Starting with the farthest wheel, loosen up the bleed screw and leave it open for an hour.
Close it and top off the fluid. Move on to the next brake caliper, again leaving it open for an hour.
Shop now for vacuum brake bleedersPerform this procedure all the way around until the brake pedal feels firm and the pedal doesn’t slowly creep to the floor of the car under steady pressure.
 We covered the conventional method for bleeding brakes that’s recommended by most mechanics. However, you may also consider the benefits of these other methods:
- Gravity bleeding: By allowing gravity to pull out the air bubbles, you can walk away and let the job perform itself.
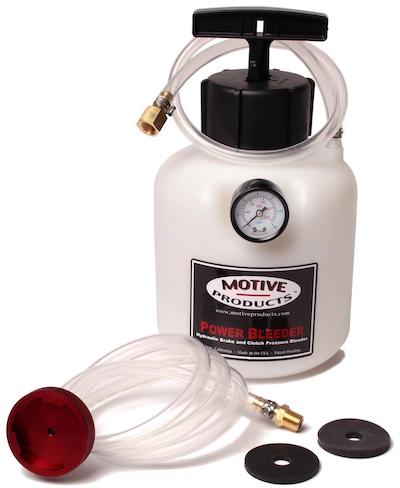
- Pressure bleeding: With a pressure bleeder, the fluid is regulated in the reservoir, pushing out fresh fluid through a hose.
- Reverse bleeding: Mechanics prefer this method with anti-lock braking systems (ABS). With this method, the air comes back out of the cylinder reservoir instead of the bleeder valves.
- Vacuum bleeding: Using a specialized pump, you can remove the old fluid with a suction end attached to the bleeder valve.
Determining the right method for your vehicle requires reading through the service manual. Always follow the manufacturer’s recommendations.
Common Mistakes When Bleeding Brakes
Even the best mechanics are prone to making errors when bleeding the brakes. Here are a few snafus to avoid:
- Mixing brake fluid. Brake fluid comes in different varieties. You want to use the right type for your vehicle and don’t mix it with any other type, even in a pinch.
- Stripping the bleeder. If you use too much force or you aren’t careful, you can easily strip the bleeder, leading to costly issues. Carefully open the bleeder valve to ensure it remains secure.
- Allowing dirt into the brake system. The brake system isn’t as secure as you think it is. When you open the valves or the master cylinder, dirt and contaminants can infiltrate the system. Wipe down the area before opening any part of the system.
- Spilling fluid. If you accidentally get brake fluid on the car, it can cause damage. Pour the fluid carefully and clean up any spills as they happen.
If you don’t feel equipped to bleed your own car brakes, it’s best to visit an auto repair shop. This simple maintenance procedure doesn’t take long and commonly costs between $75 and $150, especially when done at the same time as a brake fluid change.


