Contents
Why Should You Clean Your Engine Bay?
One look at the engine bay should answer this question, but there are reasons that go beyond what you see.
Higher Resale Value
Maybe this won’t be the first place potential car buyers look, but anyone serious about vehicles will pop the hood. Do you want them to see a clean and well-kept engine, or would you prefer they see how much you neglected the car?
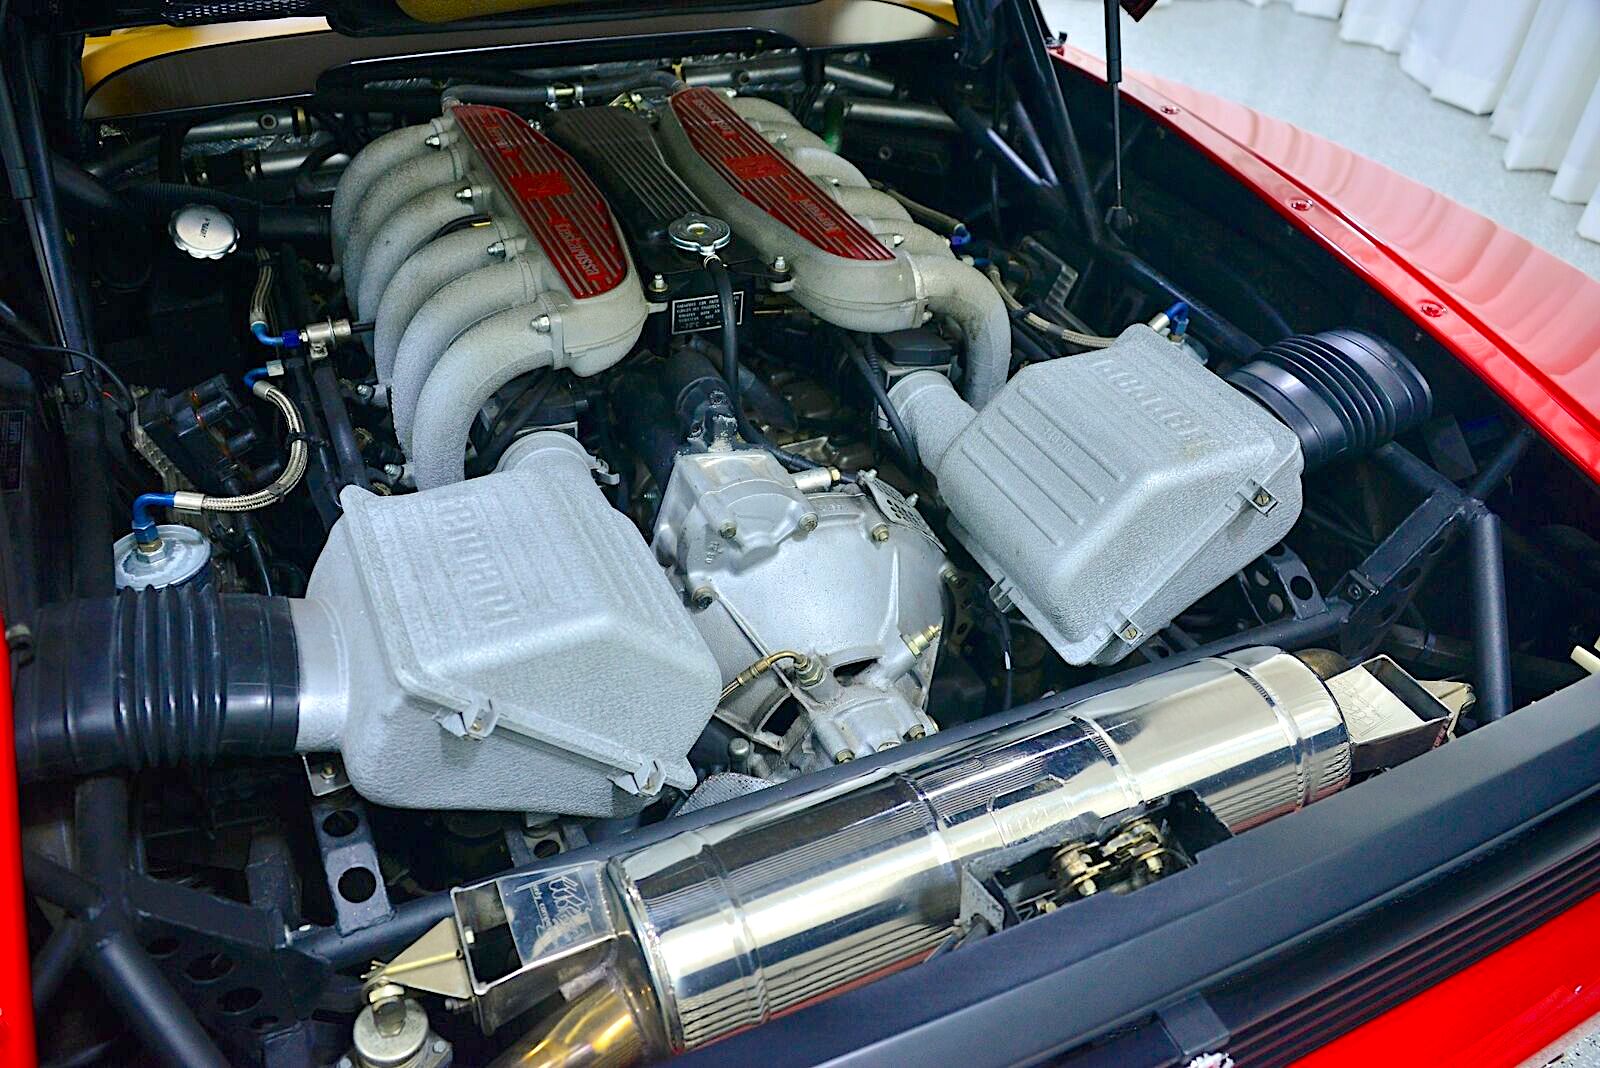
1992 Ferrari 512TR flat 12 engine
With a sparkling engine bay, potential buyers are willing to pay more because it gives the appearance that you care for your vehicle.
Increased Performance
Cleaning the engine bay isn’t going to boost horsepower. However, it will ensure everything runs as it should without clogs and blockages created by leaves and road debris.
If the air intake is blocked, the engine won’t receive the right amount of air to mix with fuel, and the car can become sluggish. There could also be corrosion inhibiting solid connections.
Better Visibility
When you look under the hood, it can be difficult to spot potential trouble if everything is covered in a layer of grime. By clearing away the debris and cleaning the engine bay, you can focus on the parts more easily.
A clean engine bay makes your regular inspections go faster. Plus, you can head off any potential problems if you spot an issue early on.
Materials Needed to Clean the Engine Bay
Before you get started, it’s essential to gather all of your materials. You don’t want to be in the middle of cleaning and find out you are missing an essential piece of equipment. Here’s what we recommend:
- Microfiber towels
- Various stiff-bristled brushes
- Toothbrush
- Heavy-duty sponge
- Protective gear (safety glasses, gloves, dust mask, etc.)
- Protective plastic
- Paint markers
- Heavy-duty cleaning wipes
- Spray wax
- Plastic protectant
- Engine degreaser
- Garden hose with a spray nozzle
- Soapy water in a spray bottle
- Rotary tool
- Vacuum, leaf blower, or air compressor
Steps to Clean Your Engine Bay
Aside from gathering your supplies, there are a few other preparation. First, bring all of your supplies right by the vehicle. Having everything handy saves a lot of time.
1. Prepare the engine bay
Make sure the engine is cool before cleaning it. You don’t want to work with a hot motor. We also recommend wearing gloves and safety glasses. You never know what will fly up from the engine bay, so it’s best to be protected.
Next, it’s important to disconnect the car battery. If it’s easy to remove, take it out. Finally, tighten up all caps and covers. You don’t want chemicals or water getting into the oil dipstick or fluid reservoirs.
2. Dry clean
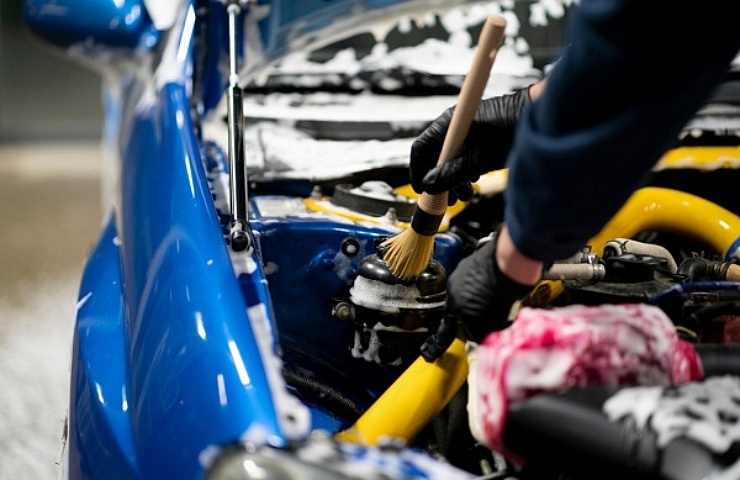
You may be tempted to skip this step, but you shouldn’t. You can get a lot of dirt off with a few minutes of dry cleaning before the big cleanup. A good amount of grime is sitting on top of the engine bay, waiting to be removed.
Throw on a dust mask and get your detailing brushes out. Agitate all of the surface dust to loosen it up. With different-sized brushes, you can get into every nook and cranny. You can suck all of this dirt up with the vacuum, or you can blow the dirt away with an air compressor or a leaf blower.
If your car has a large metal intake, you want to take a wire brush to the surface to clean it off. If there’s a large amount of dirt, use a rotary tool instead. Be very careful using this tool around sensors or hoses.
3. Wet clean
You may prefer to clean the engine when it’s slightly warm. Just don’t spray cold water on the engine when it’s hot, as it can cause the metal to contract.

Most of the engine bay can get wet—but don’t use a pressure washer. It’s too heavy-duty. You also want to be sure the alternator, spark plugs, and distributor don’t get soaked. In some newer vehicles, a plastic engine cover protects all of the valuable parts, so there’s slightly less worry. If there isn’t a cover, place a plastic protective material (bags, drop cloth, etc.) over the motor to keep it from getting too wet.
Start the wet clean with the underside of the hood. Spray the hood liner thoroughly with your hose and degreaser. However, it’s best to avoid cleaning any hood liner that’s sagging, as the water will make it worse.
Next, begin on one side of the engine bay and spray it down gently. Don’t use a hard spray, as the water can be forced into the electrical components.
Once the engine bay is wet, use your cleaning wipes to agitate the surface grime. Spray the parts with soapy water and clean them with a brush. Pipe cleaners are great for tight spots. Use your hose with a gentle stream to rinse away the loosened dirt. Repeat these steps with every part of the engine bay before removing the plastic protective covering on the motor.
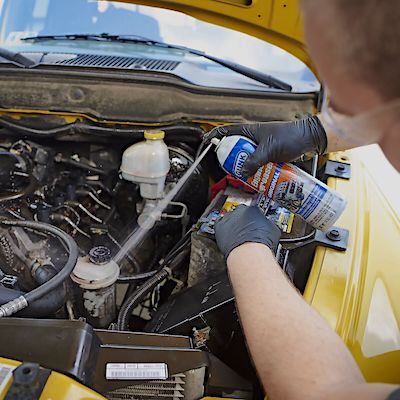
After exposing the engine, you don’t want to spray more water from the hose. Instead, it’s time to clean the surfaces with your wipes and soapy water from the spray bottle. Use brushes that reach to every side of the engine parts. With microfiber cloths, clean off the soapy water and grime.
4. Dry engine
It’s imperative to dry the engine bay before moving on. With microfiber cloths, dry every surface that has water on it. As you dry the areas, you will see even more dirt coming up, helping you to make it even cleaner.
Shop now for microfiber towels5. Detail
By now, the engine bay should be looking pretty good, even without the detailing. Still, you’ve put this much work into the job, so you might as well go all the way.

Meep! Meep! 1971 Plymouth Road Runner 383 V-8
Start with the hood. Apply spray wax to the painted parts to make them shine. Rub it into the surface with your microfiber cloth. Continue spraying the painted areas in the engine bay and buff them out.
Next, work the rubber and plastic surfaces with a special protectant. Follow the directions on the product you choose. Do not use anything oily on these parts, such as WD-40 or engine oil. Also, avoid putting any products on the belt, or it could start squeaking or slipping.
To take it a step further, use paint markers to spruce up any area with rusty or faded parts. You can also use the paint markers on any area with faded writing, such as on the caps of reservoirs. Put the battery back in place when you are finished.
6. Admire your work
Once you have put all of the hard work into cleaning the engine bay, it’s time to admire the results. As you continue practicing these steps, you will find new practices that work better for your engine bay configuration.
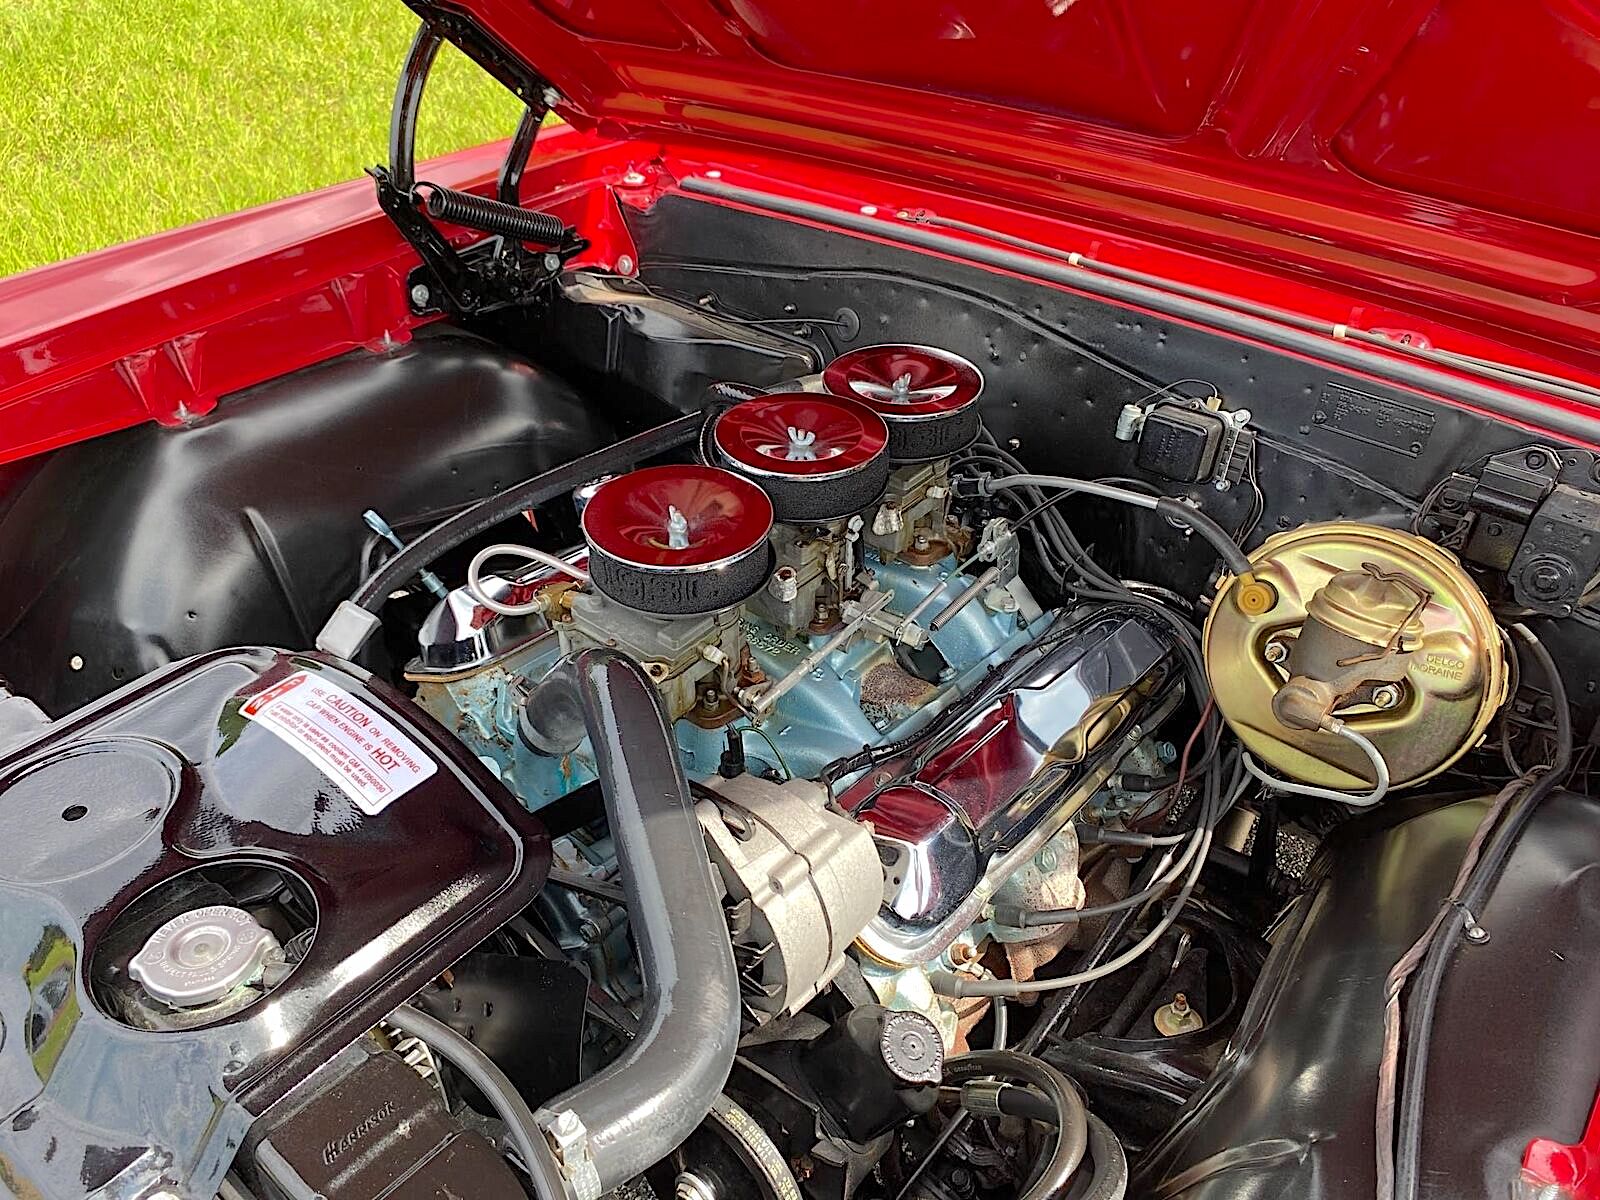
1966 Pontiac GTO tri-power 389 engine
It’s not necessary to follow these steps every time you clean your car, but something you do seasonally. As with any cleaning project, the more you do it, the less dirt that must be removed each time.
Shop now for automotive detailing supplies


