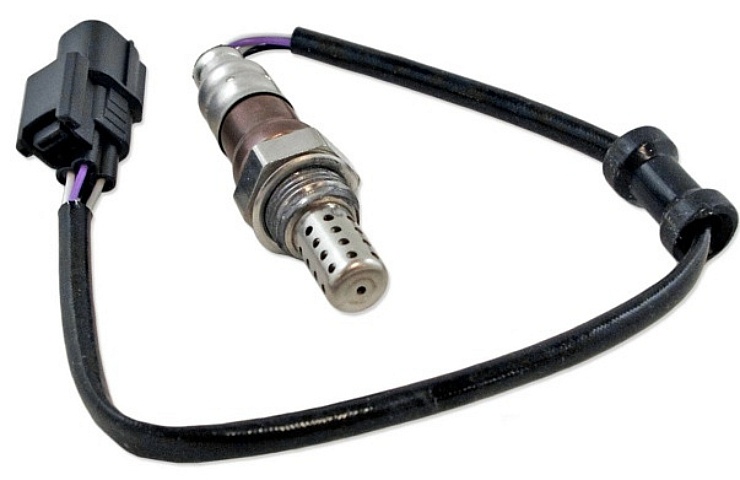
An illuminated “Check Engine” light is a dreaded sight. But it doesn’t mean that you have to rush out to a repair shop. One common cause for the dashboard warning light is a bad O2 sensor. Fortunately, a DIY oxygen sensor swap is an easy fix.
First, determine that the oxygen sensor is indeed the problem. For that, you’ll need an On-Board Diagnostics (OBD) reader. Buying a code reader is a smart and inexpensive investment.
For background, read this: What Does the Check Engine Light Mean?
DIY oxygen sensors are available from many brands. Make sure the replacement 02 sensor is designed for the correct location (upstream or downstream). That will influence the wire-harness length and how the sensor functions. When in doubt, use the version made by your car’s original equipment manufacturer.
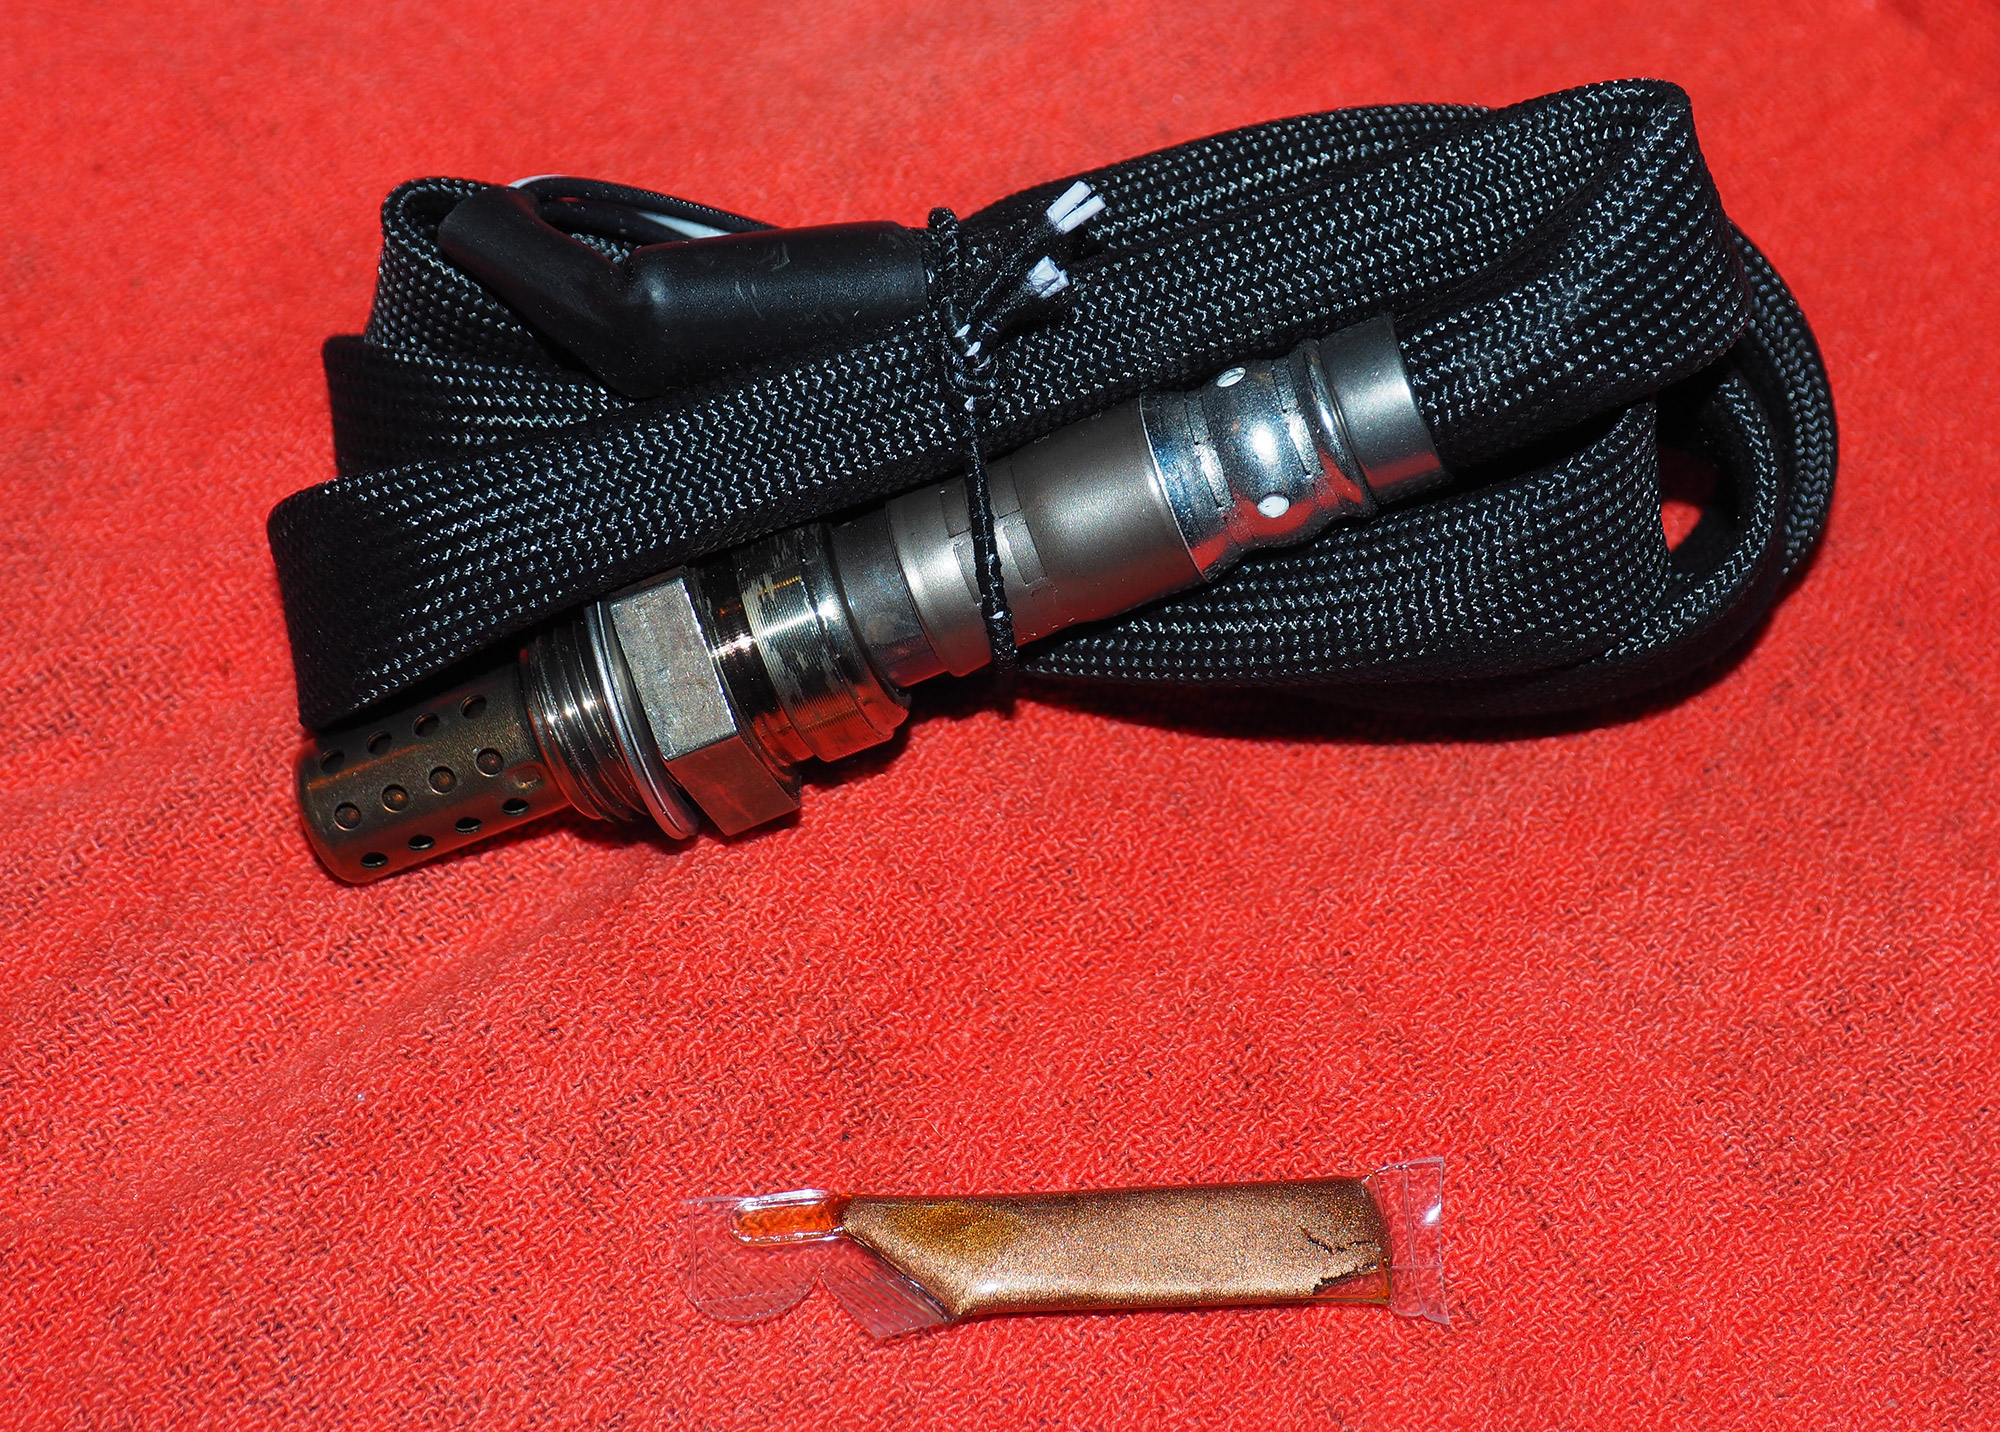
This new oxygen (or O2) sensor came with a packet of high-temperature anti-seize material.
What Is an Oxygen Sensor?
An oxygen sensor, technically a lambda probe, is used in all modern cars. The device monitors exhaust gases to minimize pollution and keep an engine running at peak efficiency.
Typically, there is one O2 sensor before the catalytic converter (upstream) and another one that follows (downstream). Double that number if you have a dual-exhaust system.
- The O2 sensor before the catalytic converter detects unburnt fuel.
- The oxygen sensor after the catalytic converter monitors the exhaust to make sure the catalytic converter is working.
Before replacing your oxygen sensors, check the attached wiring harness to look for a loose connection or wiring damaged by hot exhaust pipes. The code reader should tell you which sensor is causing the issue.
Can You Clean an O2 Sensor?
Oxygen sensors are relatively inexpensive. But you still might wonder if you can clean (rather than replace) these sensors.
Auto manufacturers and firms supplying fuel additives say it’s not a good idea. If you’re making an effort to remove an old O2 sensor, just replace it. When it goes bad, it’s toast.
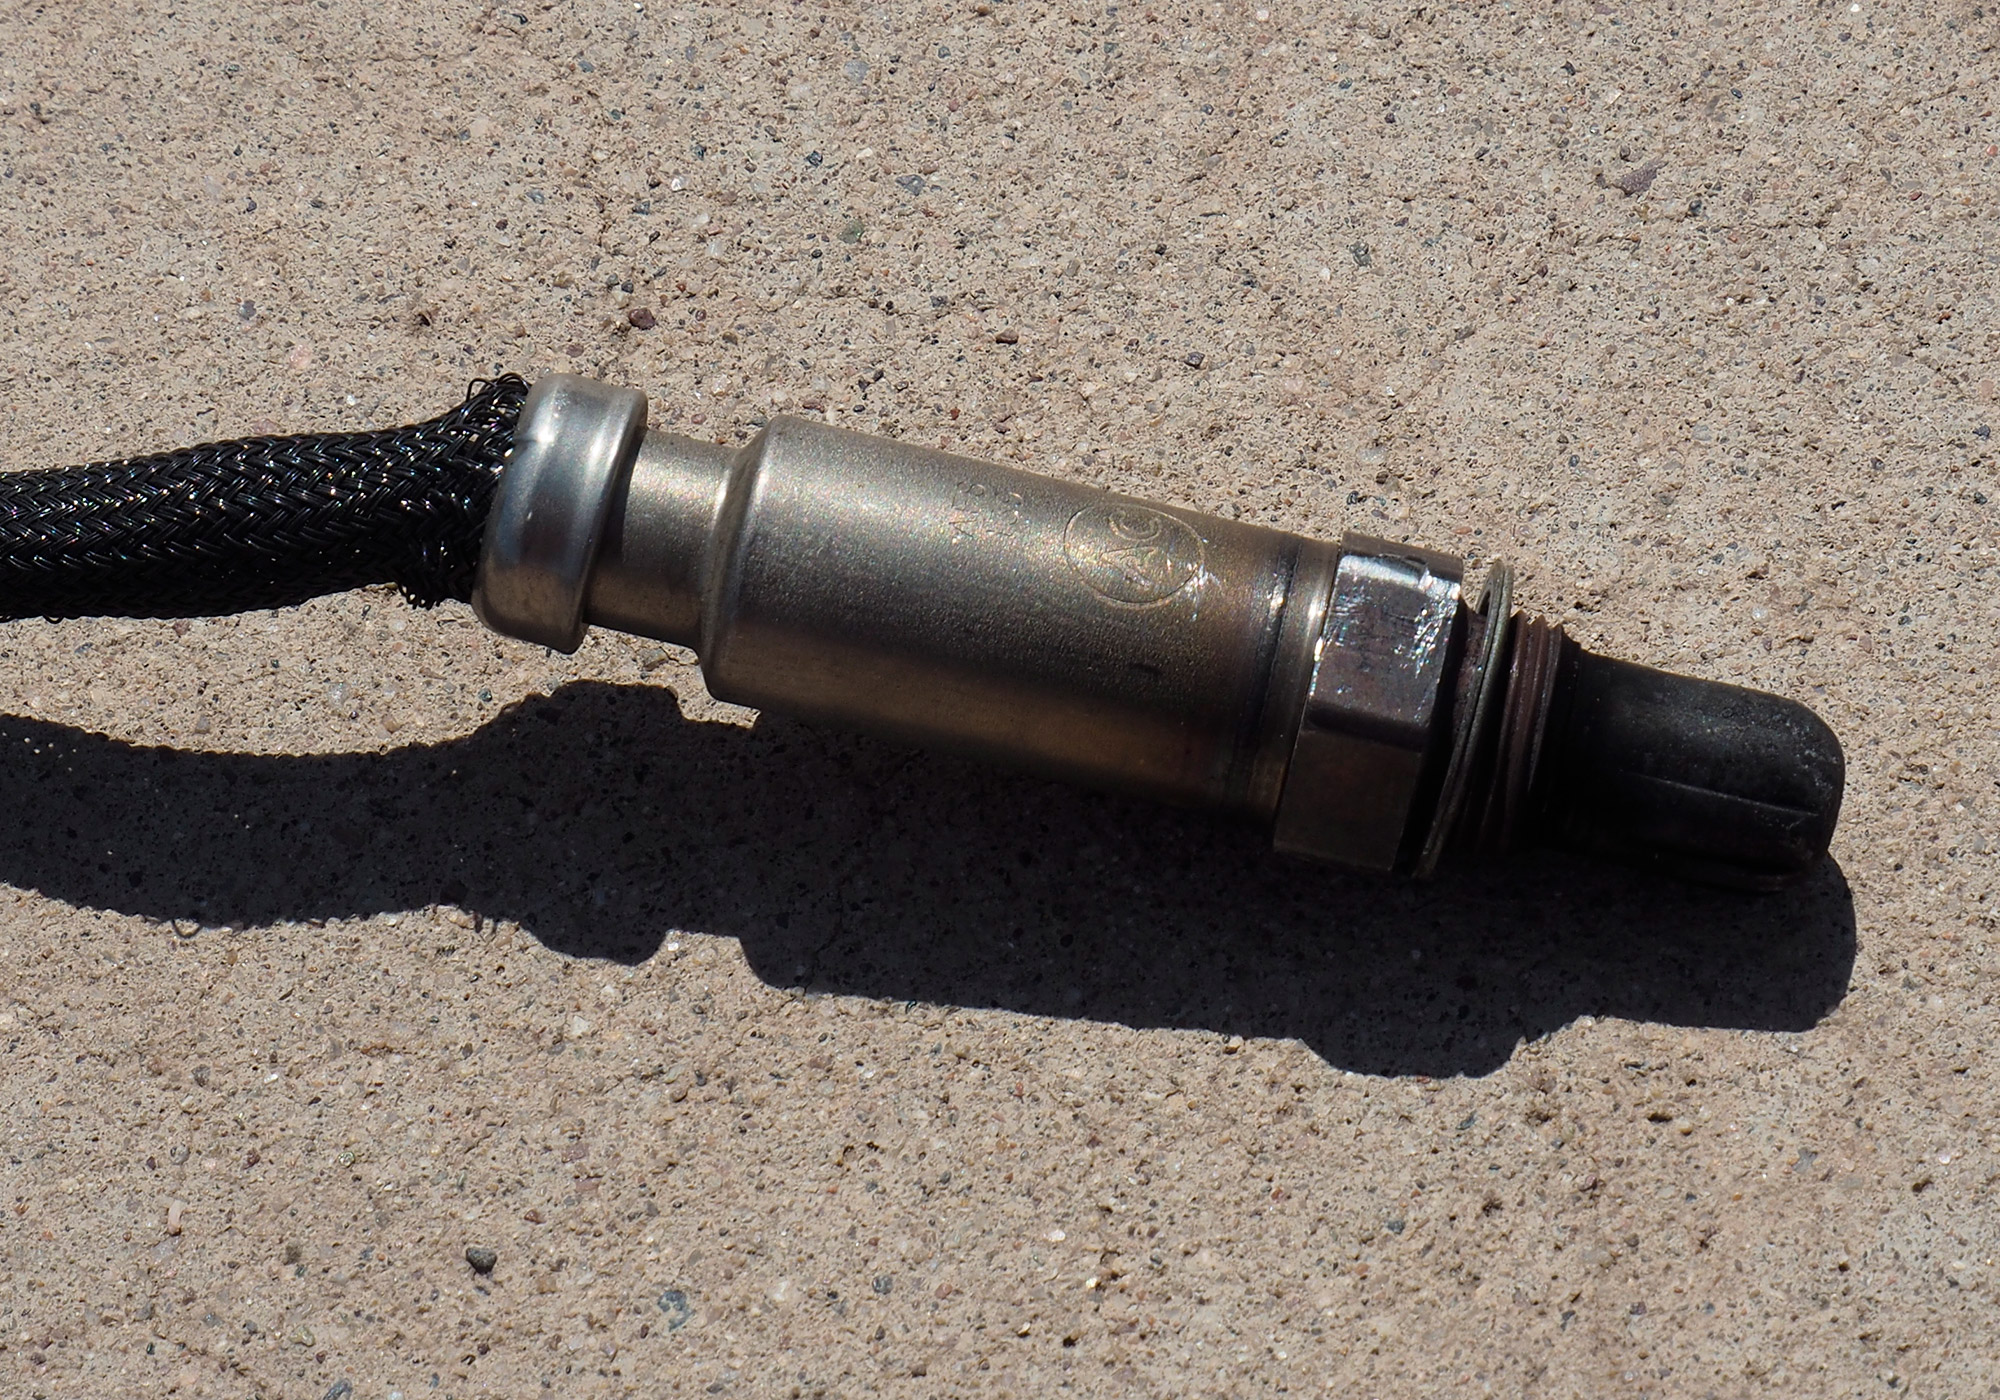
This old sensor showed signs of wear at the probe.
How To Replace an Oxygen Sensor
If you are replacing the upstream sensor, it is typically found after the collector tubes turn down on the underside of the car. It’s the only sensor that is screwed into the pipes with a threaded bung visible.
If your engine is transverse mounted (right to left over the front wheels), you might be able to reach the oxygen sensor from the engine compartment. If in doubt, your vehicle’s service manual will identify the sensor’s location.
The steps outlined below are for replacing a downstream oxygen sensor—one that’s positioned after the catalytic converter.
1. Lift the Front End
Let your car cool off for a few hours. Then create a workspace by driving your vehicle onto a set of car ramps or raise the front end with jack stands. It’s absolutely critical to avoid getting under a car with only a jack holding it up. Safety first!
2. Remove Your Old O2 Sensor
For a downstream sensor, look from under the car to where the exhaust pipes expand into the catalytic converter, a large oblong metal box near the middle of the car.
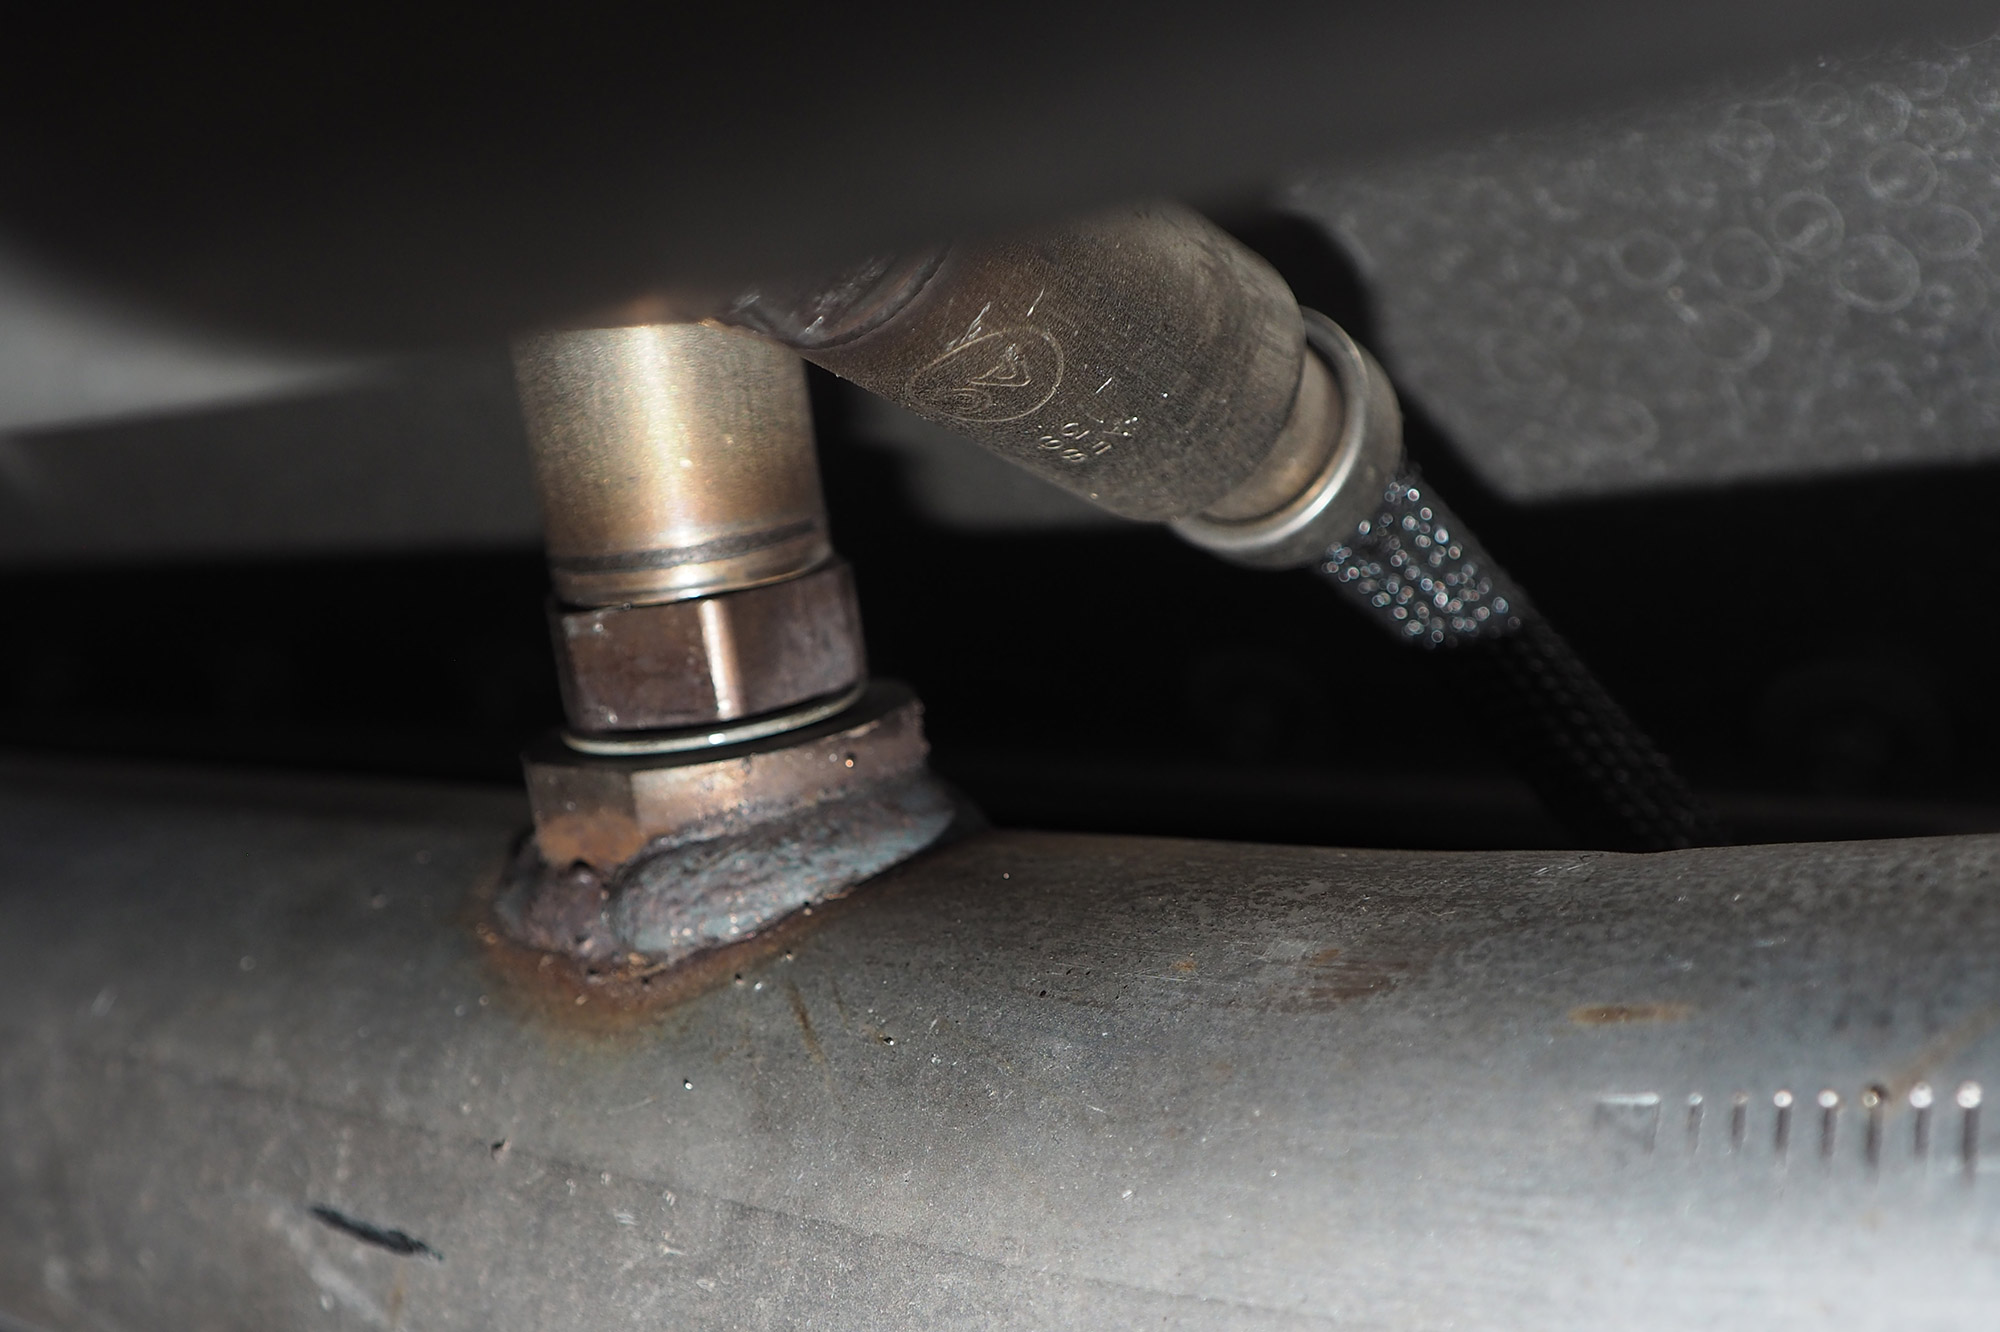
This O2 sensor shows how it screws into the bung for a tight fit.
After locating the bad sensor, use an open-end wrench or an O2 sensor wrench to loosen it. The sensor removes counterclockwise. If the sensor doesn’t turn, spray the inlet area with a lubricant (like WD-40). You might need to let the lubricant soak in for a few hours before trying again. You can also add an extension to your wrench for more leverage.
3. Remove the Wiring
When you remove the O2 sensor from its inlet, it will still be attached to its wiring. Remove the wires and the harness, which are typically tucked away from the exhaust pipes with clips.
If you follow the wires, they will end at another wiring junction. That’s where you should unclip them.
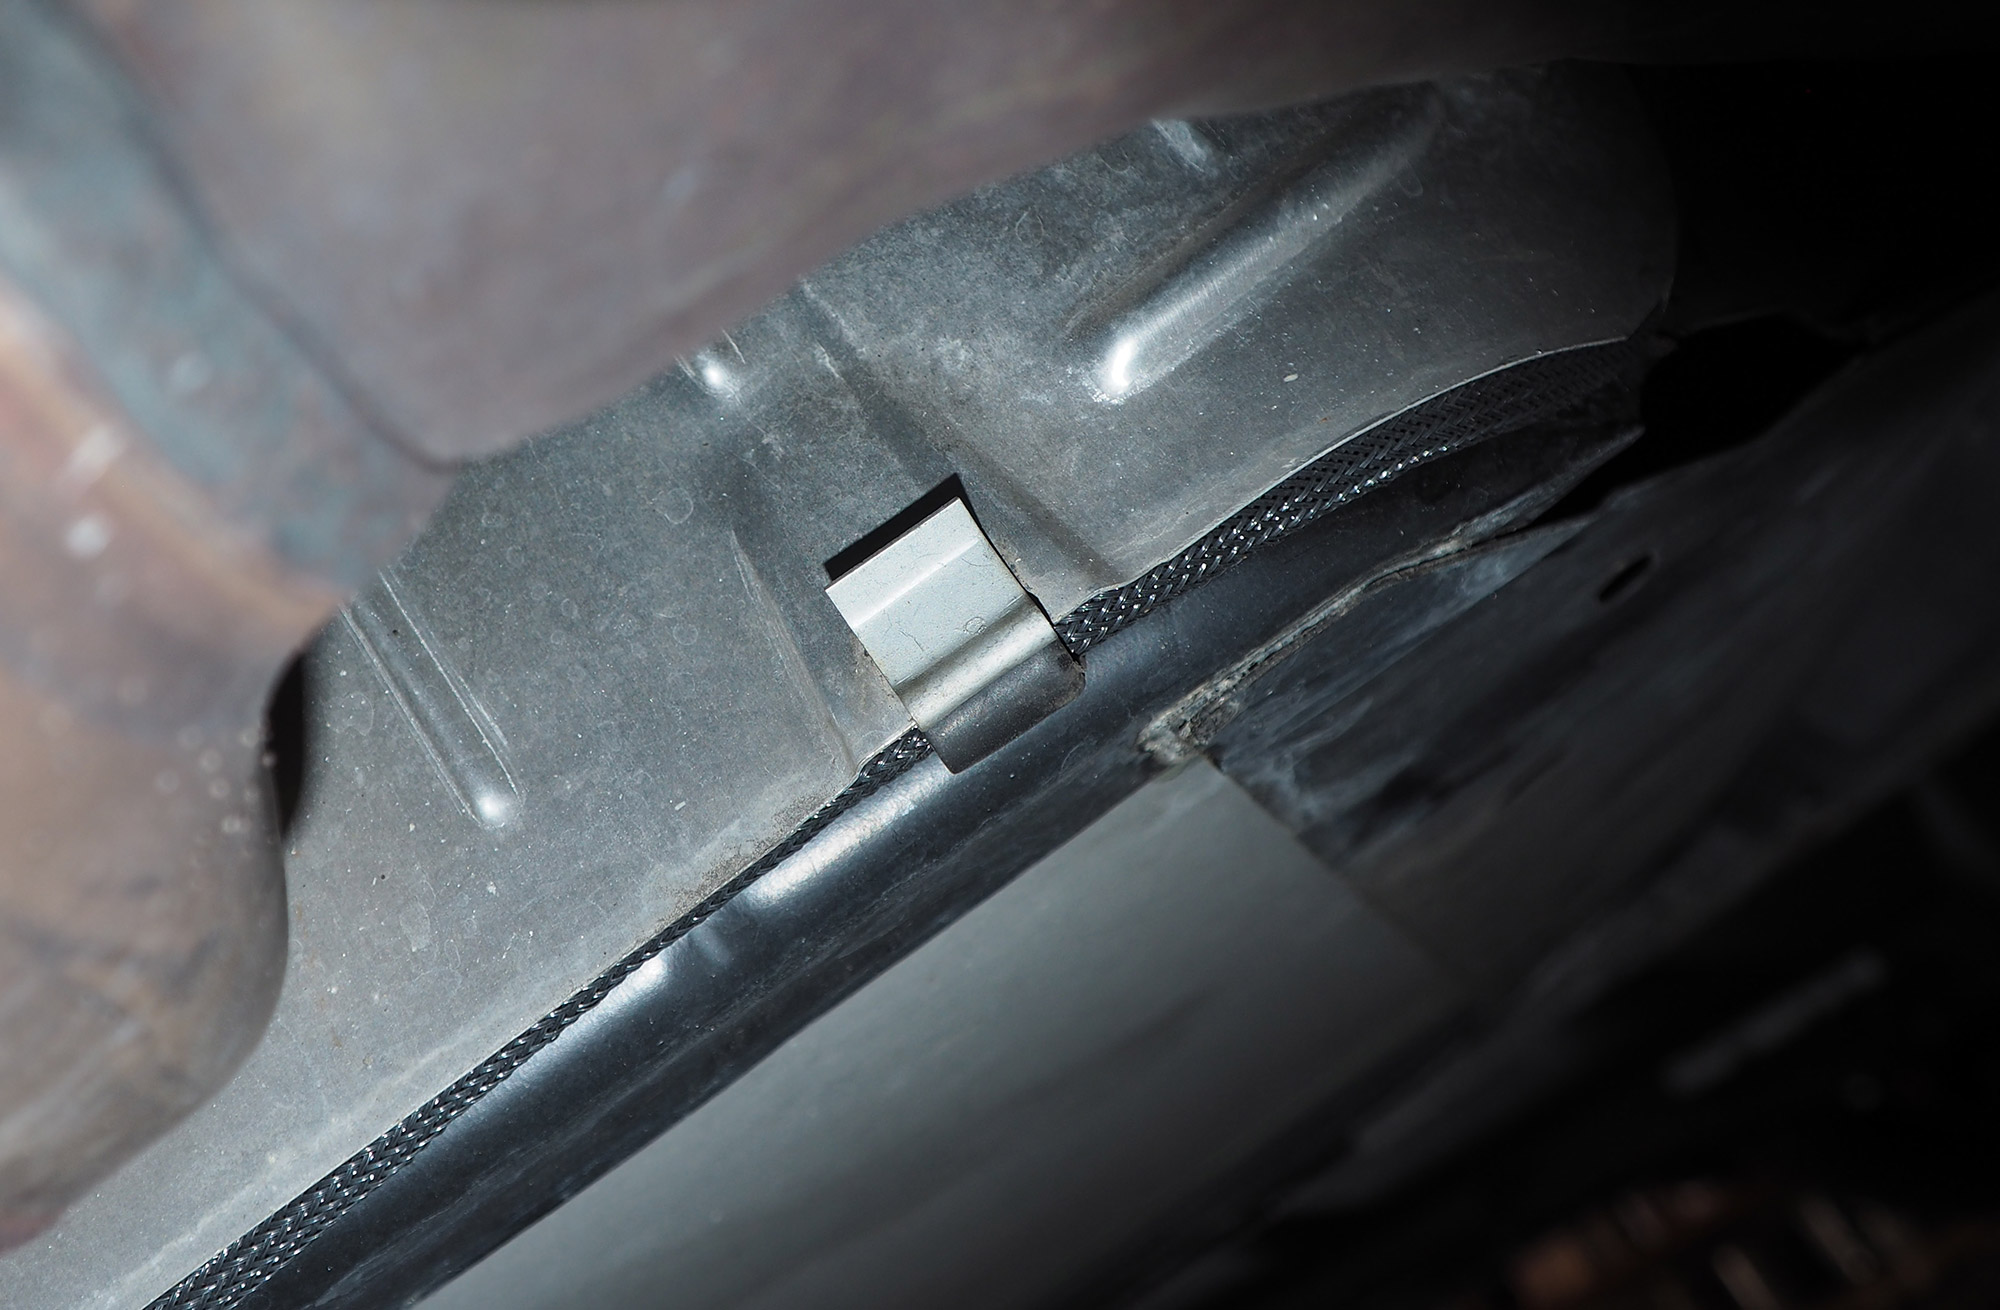
The harness for the O2 sensor is held in place with this clip.
When the old sensor is free, compare it with the new one to ensure it has the same fitment.
4. Clean Your O2 Sensor Inlet
Use a rag to wipe any debris or grime from the inlet where the sensor is mounted. Apply anti-seize compound to coat the threads of the sensor. This step will make it easier to thread or remove the sensor later.
Some O2 sensors include a small packet of high-temperature anti-seize lubricant with the sensor. Please take note: Don’t get any of the anti-seize material on the sensor itself.
5. Attach Your New O2 Sensor
Thread the replacement oxygen sensor back into the inlet. Allow the wire harness to rotate as you tighten the sensor (so it doesn’t get kinked or tangled). After the sensor is finger-tight, use the wrench to tighten the new O2 sensor firmly in place.
Replace the wiring harness along the same path as the old one and connect it back into the other end of the main wiring harness. Be sure that the harness is not touching any part of the exhaust or other moving parts of the engine.
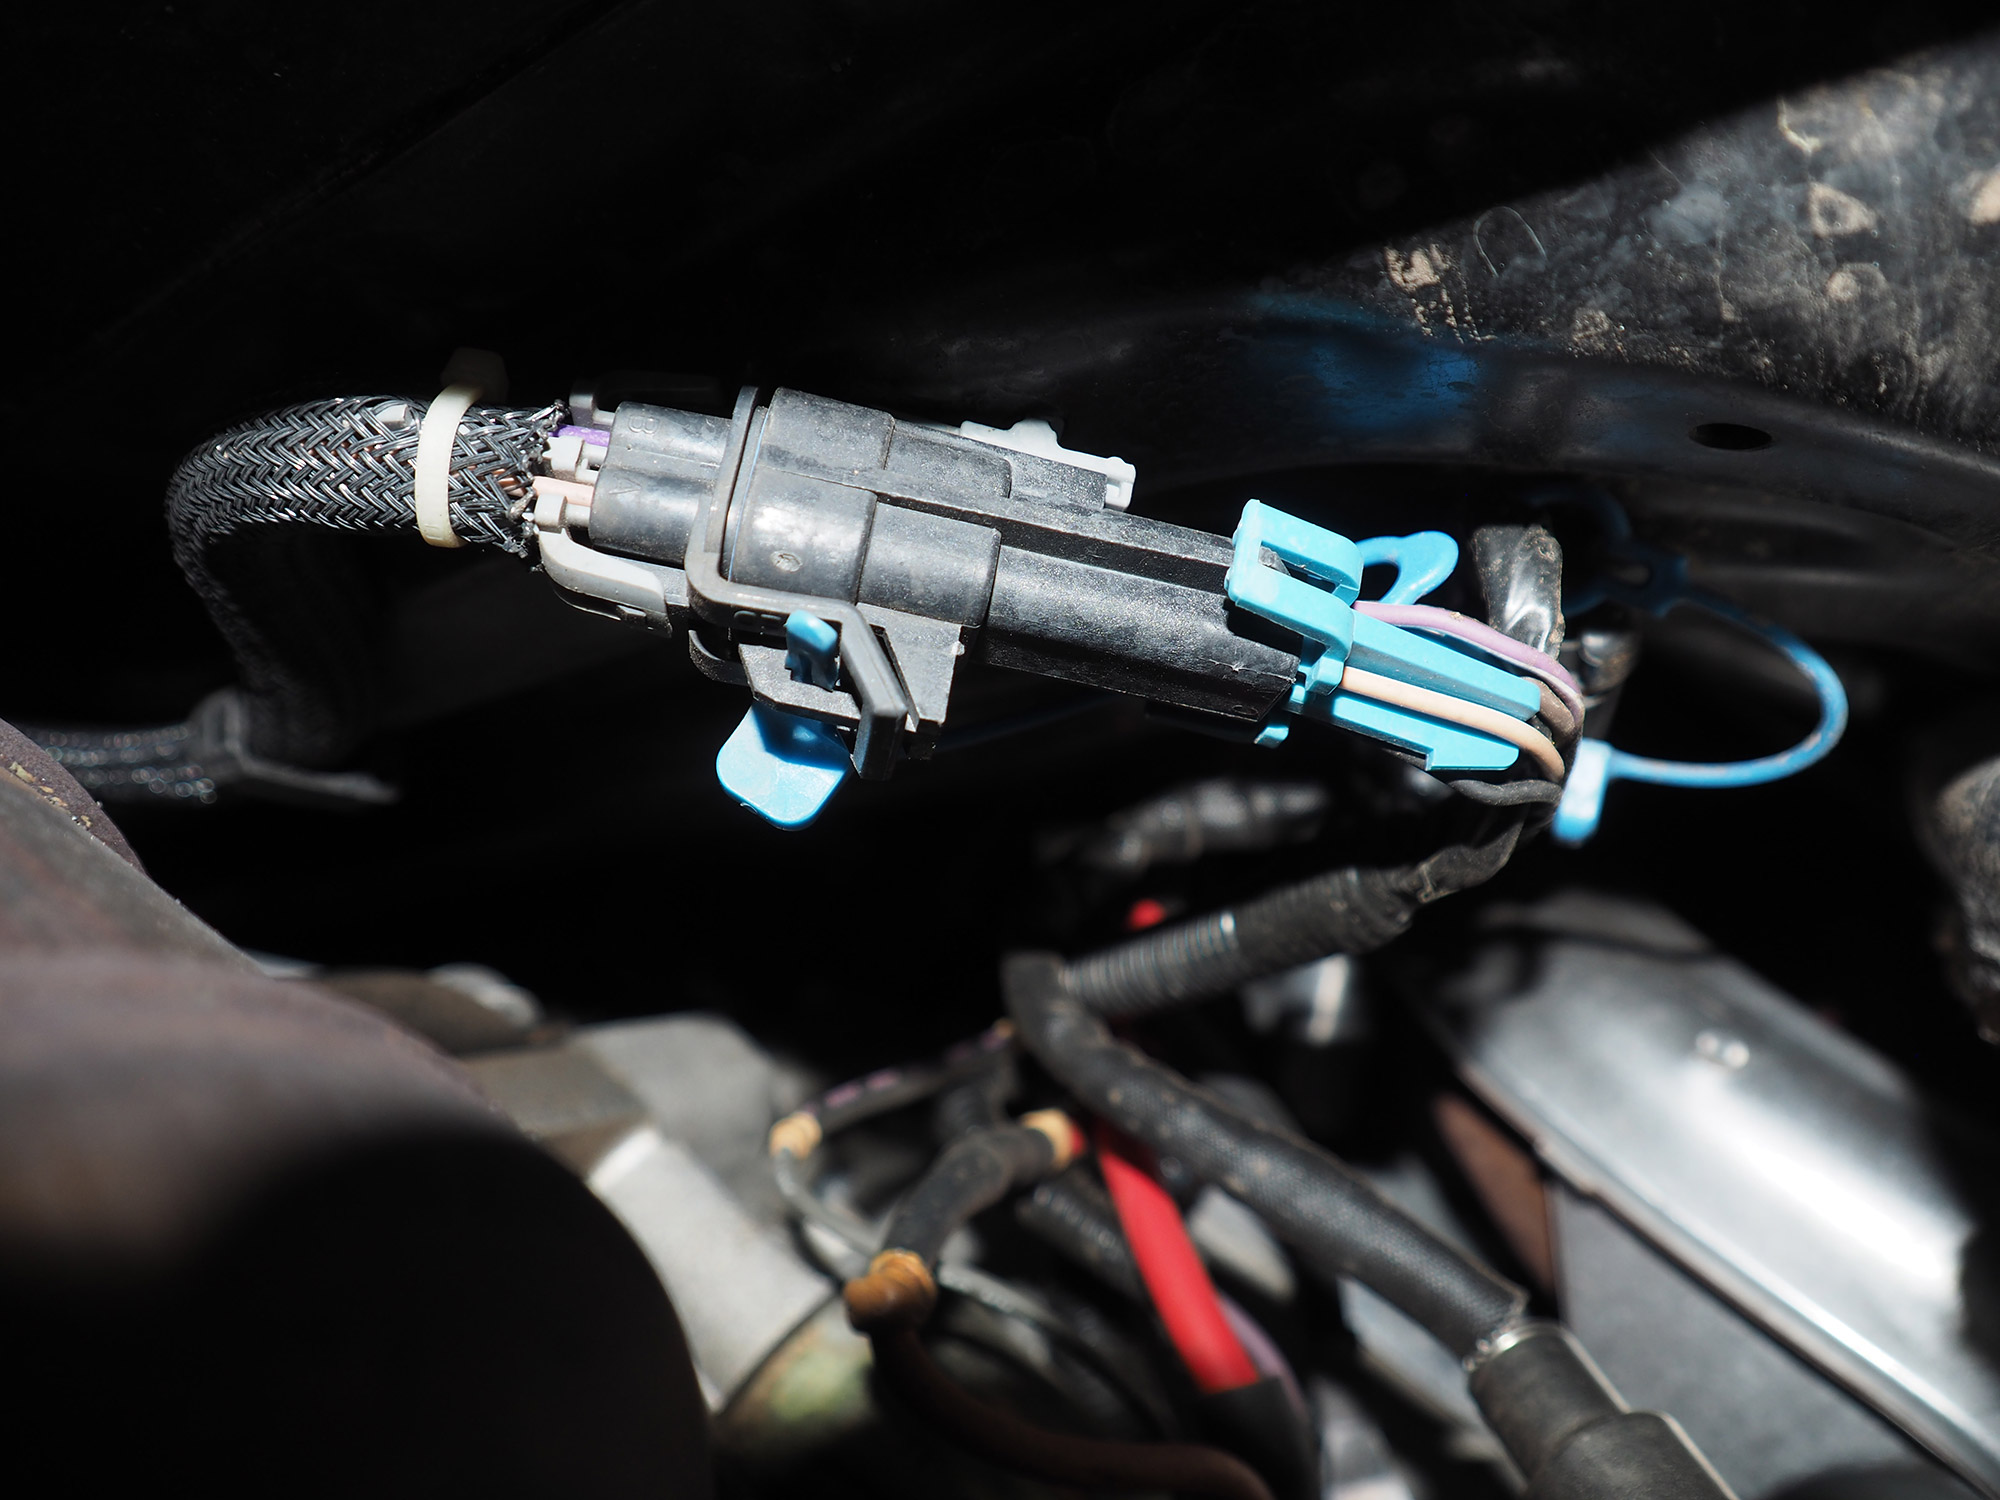
The right side of this harness leads to the oxygen sensor. The wires on the left lead to the engine management system.
6. Clear the Codes
With everything in place, lower the car to the ground. The check engine light should be off now.
If the check engine light doesn’t immediately go off, drive for a few short trips. It should reset. Or you can remove the positive cable from your battery, wait 30 minutes, and reconnect the cable. The light should then turn off. If not, retrace your steps and make sure that the sensor is firmly in place. Or check your OBD reader for other codes.
When the light is off, the car is ready to get back on the road. The whole process of DIY O2 sensor replacement should only take about an hour. Easy peasy.

