Contents
Protection for Headlight Lenses
Headlight lenses come in two styles:
- A clear lens with dispersion optics. These lenses have optics built into the lens to help focus the light. This design has fallen out of favor as manufacturers developed better reflectors to control the lighting.
- A clear lens without optics. Frequently referred to as clear cover lenses, they are designed to keep the bulb and housing weathertight.
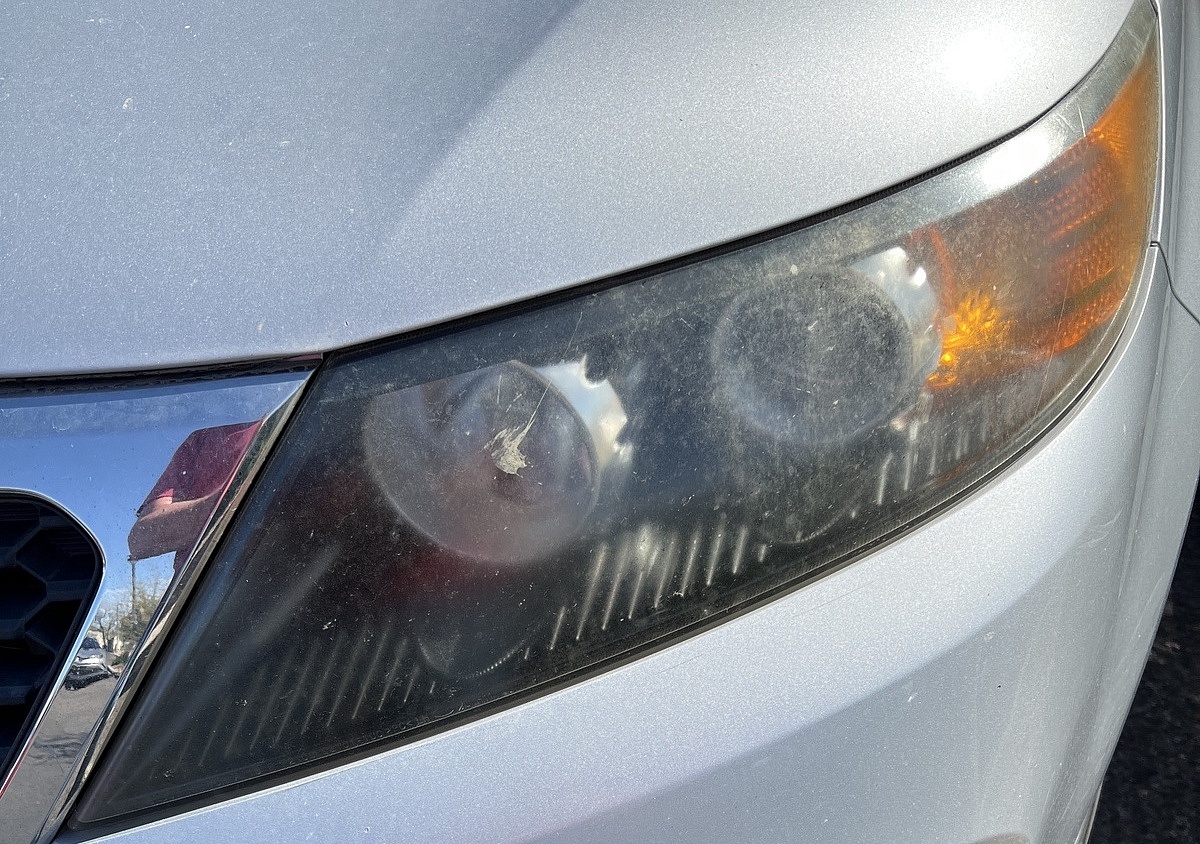
Car headlight lenses are coated with a layer of ultraviolet light (UV) protective coating. This coating protects the plastic from the sun’s harmful rays. However, over time, the coating can wear off. The hacks described below either remove the degraded layer of protectant or cover the missing coating.
Be aware that, over time, these hacks will also wear off. So expect to re-apply your favorite hack every few months or so.
Protective film and coating are two primary methods to protect headlight lenses from quick degradation.
 Car lenses can be coated with a clear protective headlight film if the plastic is not already disfigured. The film is like a paint protection film (PPF). It’s designed to minimize chips from road debris. If the film discolors over time or gets too hazy from embedded dirt, it can be removed and replaced.
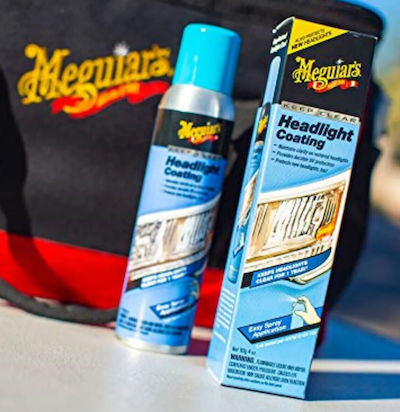
Many car detailing companies offer a coating designed explicitly for headlight lenses. The layer is designed to maintain clarity and add extra UV protection. Unfortunately, the coating might need to be replaced every two years.
Shop now for Headlight ClearcoatAlso, if the lens has a minor chip or cracks, moisture and dirt can enter the housing and quickly ruin the bulb. There are various brands of clear repair tape designed to re-seal the lens. It’s a quick and cheap repair option.
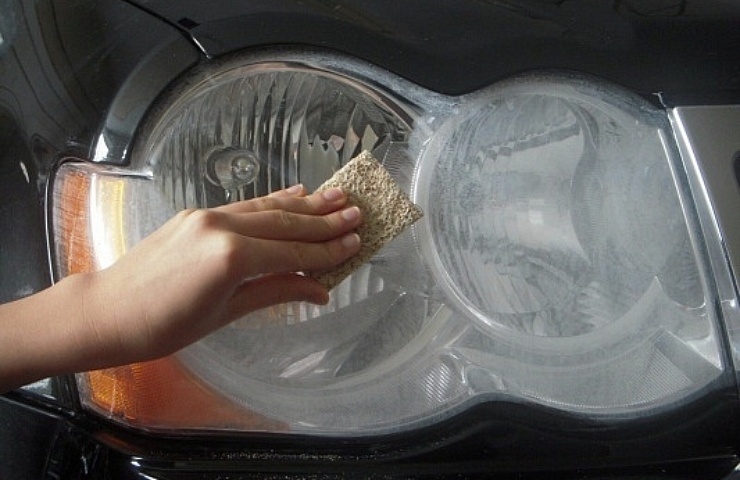
Handy Hacks to Restore Headlight Lenses
A replacement lens assembly for some cars can cost more than $1,000. So it pays to consider one of these remedies for restoring headlights using everyday household products.
Remember, these lenses are made of plastic, so an overly aggressive approach could damage the lens.
Baking soda and vinegar: Make a paste by combining these two household products. Then apply the paste to the lens with a cloth. Finally, work it in by rubbing it in circles until the lens looks clear.
Car wax: Take a cloth and apply the car wax to the lens. Let it sit for a few minutes, then buff it off with a cloth. The wax fills in minor scratches and imperfections.
Cleaners: This is the most direct technique to restore a lens. Spray on a window cleaner and use a clean cloth to wipe away. What you think is a foggy lens may be grime that can be easily wiped away.
Cooking oil: Apply cooking oil (liquid or spray) on the lens with a cloth. The oil also fills in minor imperfections.
Insect repellent: Many social media headlight restoration hack videos show car owners applying a brand-name insect repellent and then polishing the lens with a cloth. In many cases, the lens can look brand new after a quick polish with insect repellent. Unfortunately, these sprays can soften the plastic. The cloth removes the debris, but the haze can soon return. These chemical sprays are like a paint glaze, covering the imperfections until the chemicals wear away. Of all the hacks to restore headlights, this is the most controversial.

Lemon and baking soda: In this variation, you slice a fresh lemon. Then, rub the lemon and baking soda mixture over the lens. Rinse and buff dry.
Plastic polish: Several manufacturers offer a liquid designed to polish minor scratches away from plastic. Apply as directed. And after it dries, you will see a marked improvement.
Toothpaste: Toothpaste is a mild abrasive. Rub a thin layer over the lens and use a microfiber cloth to polish off the top layer of disfigured plastic. This headlight restoration hack sounds corny, but it does work. And best of all, it’s minty fresh.
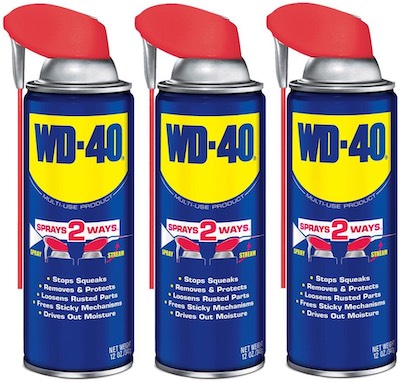 WD-40: This multi-purpose spray is another headlight lens-cleaning hack. Spray the WD-40 on a cloth and rub the surface of the lens with cleaner. Let it set for a few minutes and rinse with soapy water. The contents will reduce the hazy look.
Wet sanding: Just like paint, blemishes can be removed by wet sanding. A headlight lens can be cleared with the same process. Dip a sheet of sandpaper into a bucket of soapy water. Apply the same soapy water to the lens and moisten it while sanding. Start with medium-grit sandpaper (600 grit) and sand in consistent, horizontal strokes. Rinse and then rub with finer grits (1000 grit) to remove the slight sanding marks. Rinse again and inspect your lens for any spots that need additional work. When satisfied, apply car polish to the lens and buff it with a cloth. This will produce a clear, nice finish.
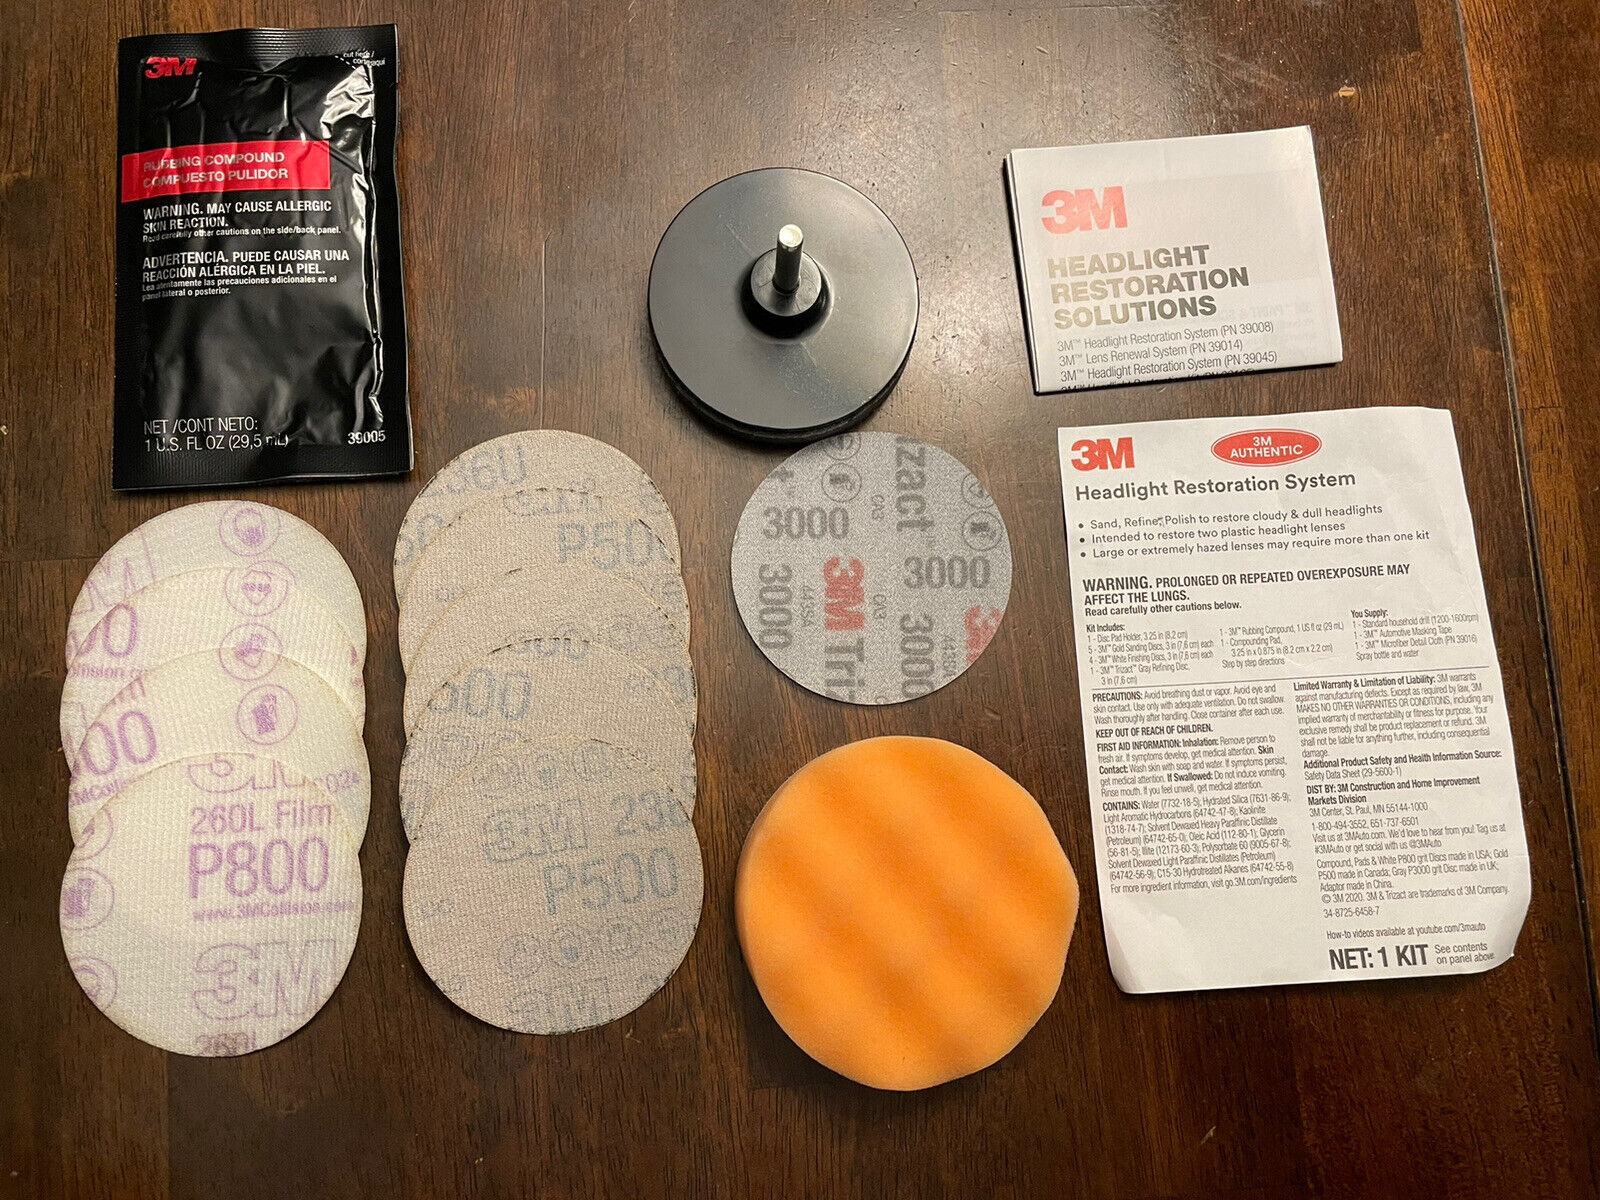
3M’s headlight restoration kit uses a trio of sandpaper discs, finishing up with 3000 grit Trizact for an ultra-smooth finish.
Official Headlight Cleaners
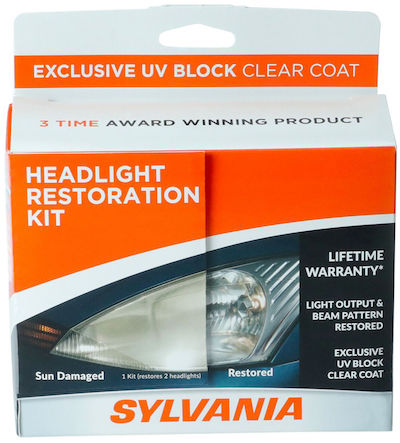
Sylvania’s three-step headlight restoration kit earns high marks.
Most car care companies offer specialized products to restore headlight lenses. These products might take a little longer prep and application time than the household hacks to restore headlight lenses, but the results typically last longer.
In addition, some systems come with an additional layer of UV coating to help prolong the like-new appearance.
Read this: A Headlight Restoration Kit Brings Back Brilliant, Clear Lights
Shop now for Sylvania headlight restoration kitsA Brief History of Headlights
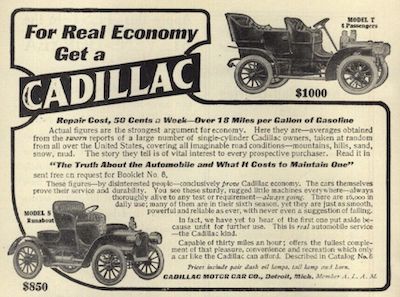
In the early 1900s, when cars first ventured out at night, they used acetylene gas or oil to operate a flame that lit the way. Then, in 1908, Cadillac introduced a bulb using the car’s generator to provide light.
 Advancements continued throughout the 20th century. By the 1970s, the seven-inch round sealed headlamp was the preferred lighting design. It consists of a filament at the back and a glass lens up front. When the bulb went out, the whole unit was replaced.
In the 1990s, carmakers started offering halogen lamps and high-intensity discharge (HID) systems. Drivers could replace the bulbs instead of the entire assembly. This led to carmakers switching to plastic or polycarbonate lenses at the front of the headlight unit.
Car designers could develop sleek, low-slung units with interchangeable lamps and plastic lenses. However, road debris can also chip or shatter the lens, and the plastic can become yellow and hazy. But when that happens, you can always apply toothpaste, insect repellent, or other lens-cleaning hacks.
Shop now for headlight restoration kits