Contents
The fabric headliner in your car or truck offers insulation, soundproofing, and a stylish touch. Headliners usually match or accent the interior color and need little care or maintenance. But unfortunately, headliners can sag over time. Then, that elegant headliner starts to look old and ratty.
Here’s the good news: It’s easy to repair.
Shop now for headliner adhesiveWhy Headliners Sag and How to Repair It
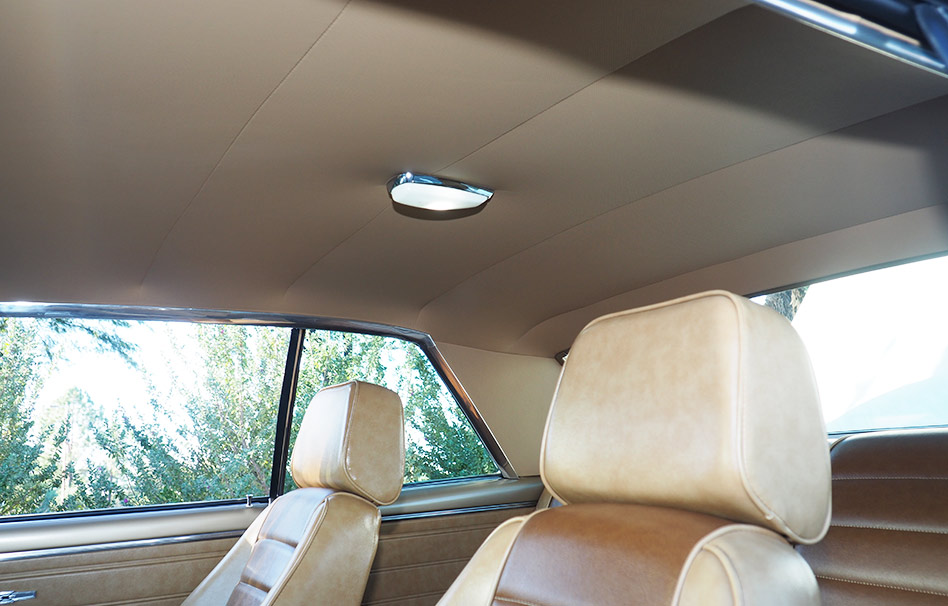
Older cars have a headliner fabric sewn in sections.
In many vintage cars, metal bows suspend from the roof to attach a cloth headliner. The fabric is typically sewn in pieces—with the seams attached to bows. The metal bows run across the roof of the car, from side to side. The fabric attaches to the bows.
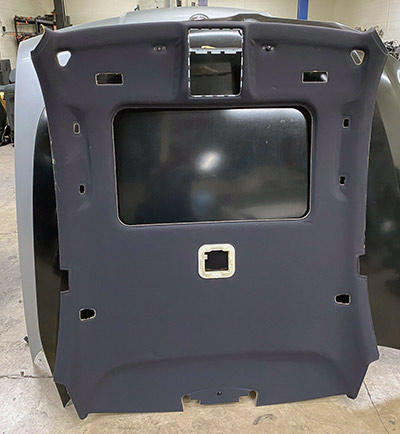
Most cars have a one-piece board that supports the roof-liner fabric.
Modern cars typically have the headliner fabric attached to a solid piece of sturdy plastic or fiberboard. Usually, there is a thin layer of foam between the fabric and board. Some manufacturers include material above the board to help insulate the car and provide some soundproofing.
The adhesive used to attach a headliner cloth doesn’t last forever. The glue stops adhering due to prolonged heat, moisture, or aging. Also, if you consistently drive with the windows down, the edge near the window’s edge can come loose as the wind buffets through the cabin.
Sags from the Edge
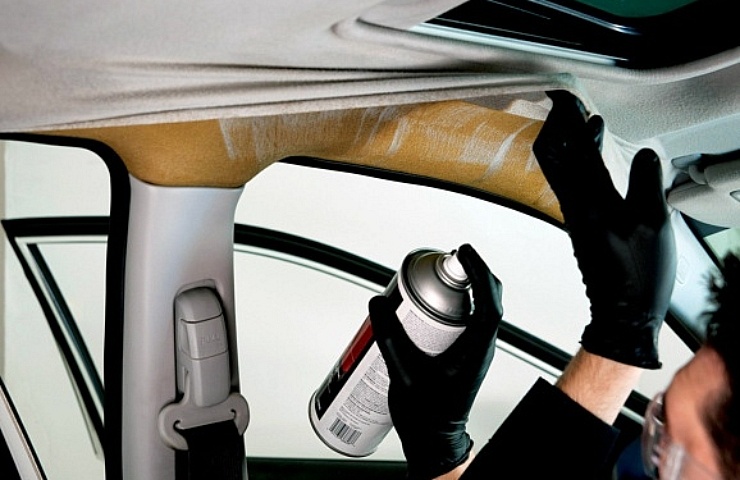
If your headliner is sagging from the edge, there are more ways to fix it. Some cars have a plastic edge piece that butts against the headliner, which can be removed, allowing you easier access to the edge of the fabric.
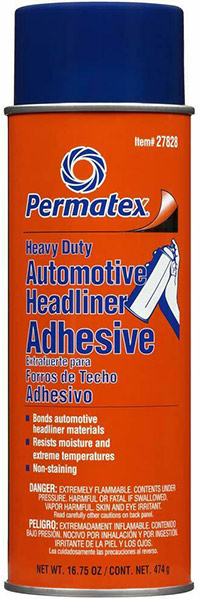
eBay offers Permatex headliner adhesive spray.
Permatex and 3M, among other companies, sell adhesive specially designed for headliners. These spray on clear and won’t leave a visible residue discoloring your fabric.
When spraying these adhesives, use gloves, a facial mask or respirator, and work in a well-ventilated outdoor space. Make sure there are no flames nearby as the spray is highly flammable. Lightly spray both the fabric and the backing board with the glue. Wait a few minutes and apply a lighter second layer. Wait for an additional two to three minutes until the glue is tacky.
Then, lightly push the material onto the backing board starting- from the center section. Use a wide piece of cardboard or paint roller to help apply even pressure and smooth out wrinkles as you go. Let the glue dry with the windows open.
Sags in the Middle of the Roof
For a saggy middle piece of fabric, park the car in the sun to gently warm the interior. Then, use a steamer or an iron to heat the material (and hopefully reactivate the glue).
Lightly push the fabric onto the support board.
Use a wide piece of cardboard or a paint roller to smooth the fabric onto the backing. If the fabric sticks, consider yourself lucky. If it doesn’t, you will probably need to see a car upholstery shop or consider removing the whole headliner and applying new material.
Start Over
If you can’ easily apply the glue to all the sags, consider removing the headliner. But, first, remove the dome light and other devices attached to the headliner.
Shop now for trim removal hand tools
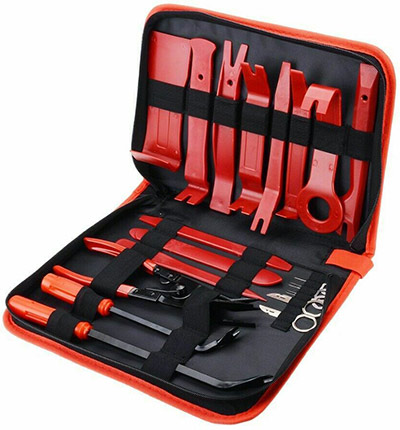
Trim removal tools are helpful when working on headliners.
Using a set of interior trim removal tools, remove the backing board in one piece. At that point, you can either loosen the fabric to the area where the sag ends and then re-apply the adhesive or remove the material entirely.
Alternatively, purchase an entirely new piece of matching fabric. Glue the new fabric to the support board (which was removed) and allow it to dry. Then, you can return the headliner to the car and re-attach it.
Regardless, don’t wait too long to repair a saggy roof-liner. The problem often gets worse if ignored.

