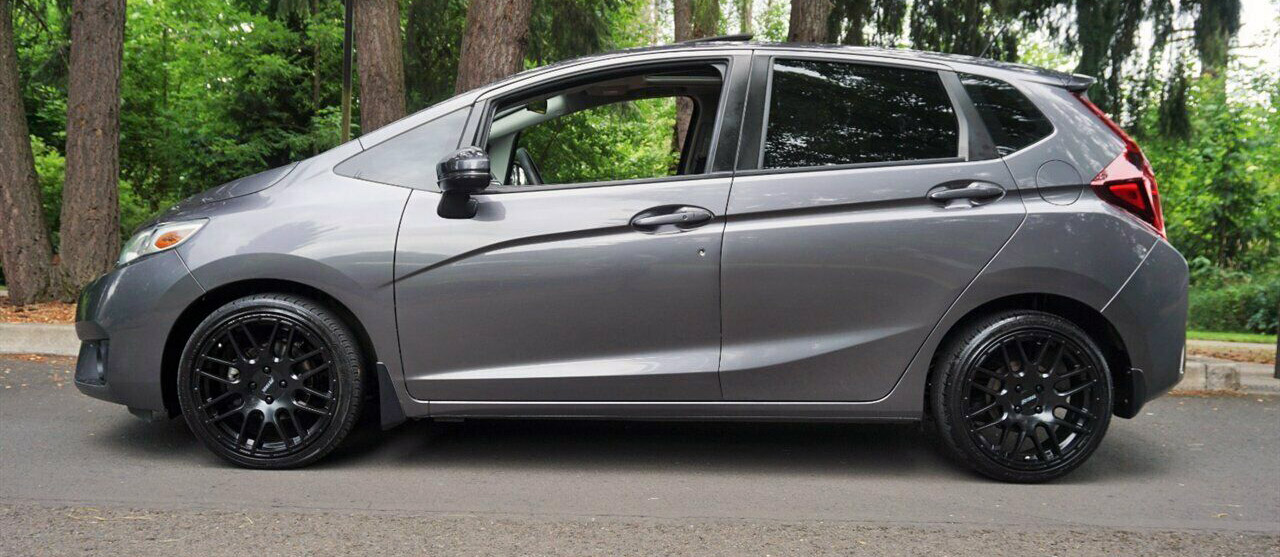
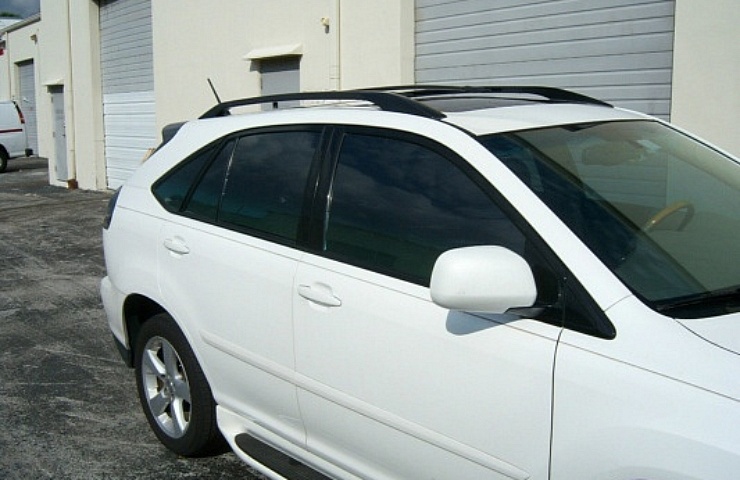
Having your windows tinted by a professional service can cost several hundred dollars. Why not save that money by using a precut window tint?
The barriers to entry for a DIY window tint couldn’t be lower. You can learn the process in no time, and there are tons of DIY videos to help you throughout.
Besides, there’s no better way to practice than on your own hoopty.
The task might seem scary to the newbie. Keep one thing in mind. Window tint films are non-destructive, whether pre-cut or not.
If you mess up a window, peel the tint film off, toss it out, and start over.
Considering the need to invest in tools, you might not save money on a one-and-done effort for a single car. In that case, the smart move is to use a pro.
But, if you have many vehicles in mind or you’re looking to pick up a new desirable skill for the future, then read on.
Who knows? Window-tinting could become your side hustle or a unique gift to family and friends.

Tinted windows keeps things cool inside. And gives any car a little more attitude.
Benefits of a Precut Window Tint
Trimming the tint material to fit your car is one of the trickiest steps in the window-tinting process. Mess up, and you’ll need to recut the film.
Each time this happens takes a toll on your wallet. The best way to avoid these mishaps is to use a set of pre-cut window films.
eBay Motors offers the full range of window films from a wide range of manufacturers.
This includes Lexen and 3M. Many are trimmed to fit your vehicle’s windows and in the exact tint percentage you want.
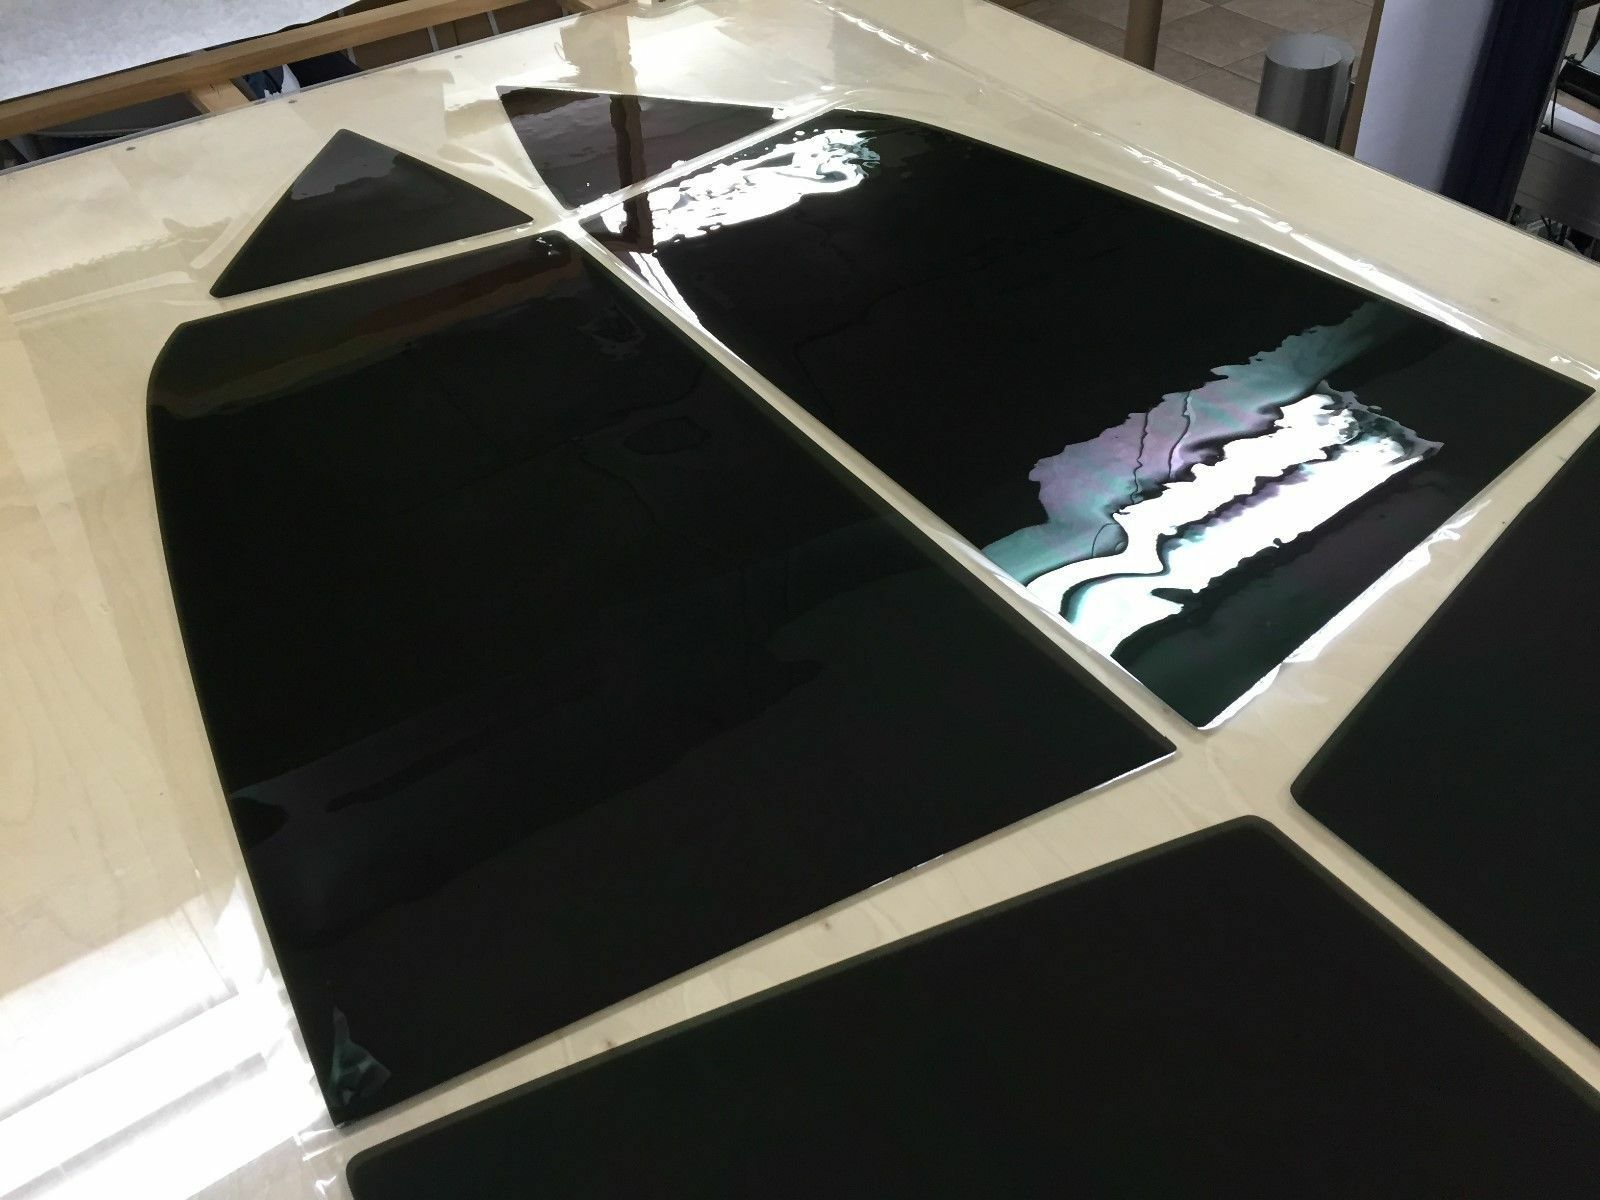
These are the pre-cut pieces that come with an order:
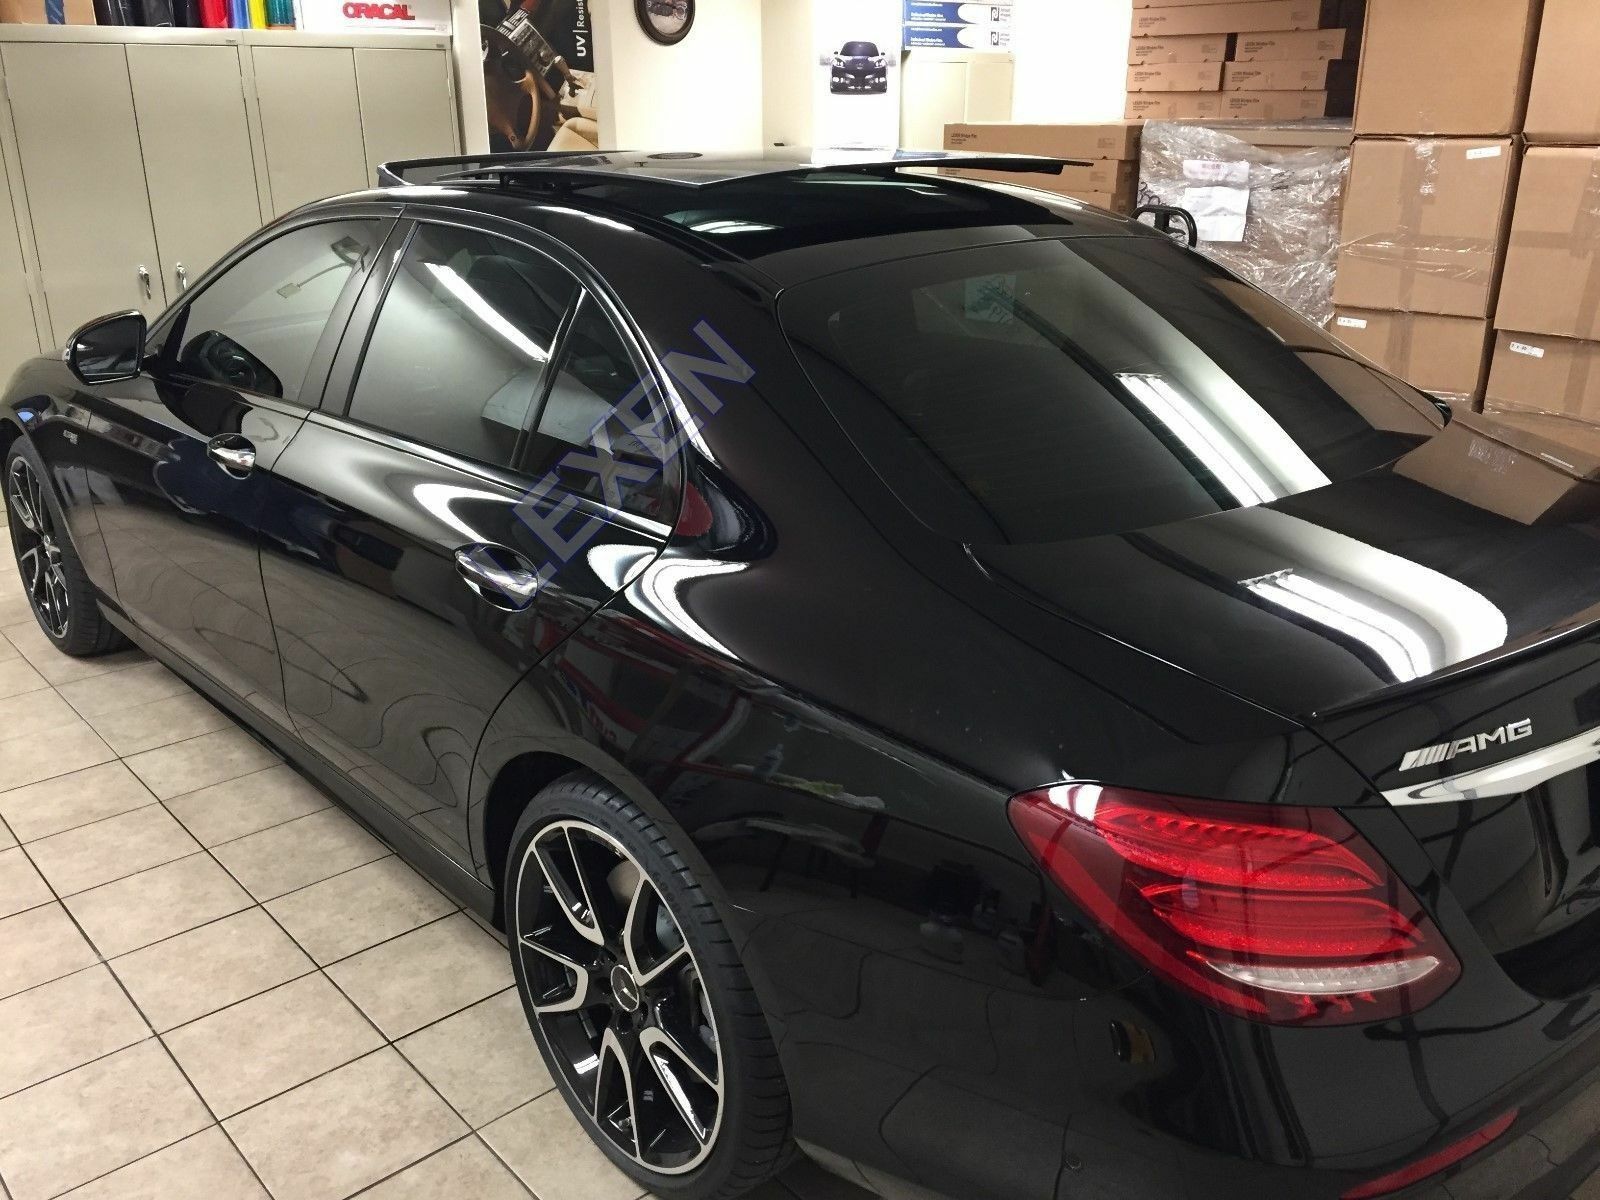
And this is the finished product:
The installation process is easy. As you work window by window:
- Trim (if necessary)
- Heat shrink
- Clean and prep the window
- Install the film
Once the installation is complete, you’ll want to park the car in direct sunlight to help with the drying process.
Also, avoid rolling down your windows for three days.
And most importantly, never use an ammonia-based window cleaner.
How Much Can You Save?
You might not save much money after the first job.
After all, beginners should expect to make a few mistakes. That first DIY precut window tint job may very well cost you more out of pocket than having it done by a pro.
But once you’ve mastered the skills and learned the shortcuts, the next jobs—for yourself, family, friends, or clients—will be gravy.
Each new window-tint job will be primarily the cost of only the precut window tints. Those are commonly less than $30.
The Tools Needed for DIY Car Window Tinting
Investing in the right tools and materials is critical. But you don’t need to spend a fortune. A window tinter’s toolbox includes:
- Heat gun
- Scraper
- Squeegees
- Hard card
- A few spray-bottles
- Baby shampoo
- A box of fabric softener sheets
- A trusty Olfa knife or two
The most expensive investment is a reliable heat gun. Your household blow dryer won’t do. A quality heat gun can cost anywhere from $50 to $100 or more.
In any event, before you get started, research your local regulations. Window tint laws differ from state to state.
Shop window tints


