Contents
To replace your tire’s valve stem, you have to remove the tire from the wheel, which requires specialized tire-mounting machinery. Many skilled auto technicians can do this, but it can be dangerous without the right equipment and training. Proceed with caution.
Shop now for tire valve stems and capsWhat Is a Tire Valve Stem?
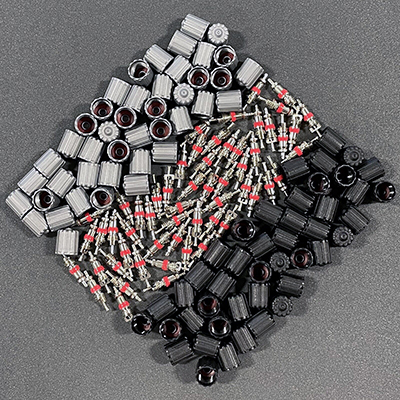
Tire stem caps, cores, and stems are sold cheaply in bulk.
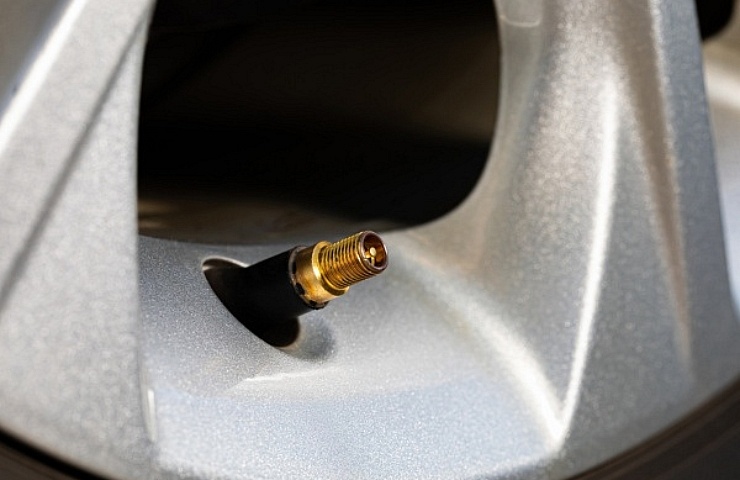
The valve stem is the small tube in the rim that allows you to add air. It is a one-way pathway to transfer the air pressure into the tire chamber. While it lets air in, it should also prevent it from escaping.
Valve stems are installed on pneumatic tires of all sizes, even bicycles. While there are different valve stems, they all operate the same, helping maintain proper air pressure within the tire.
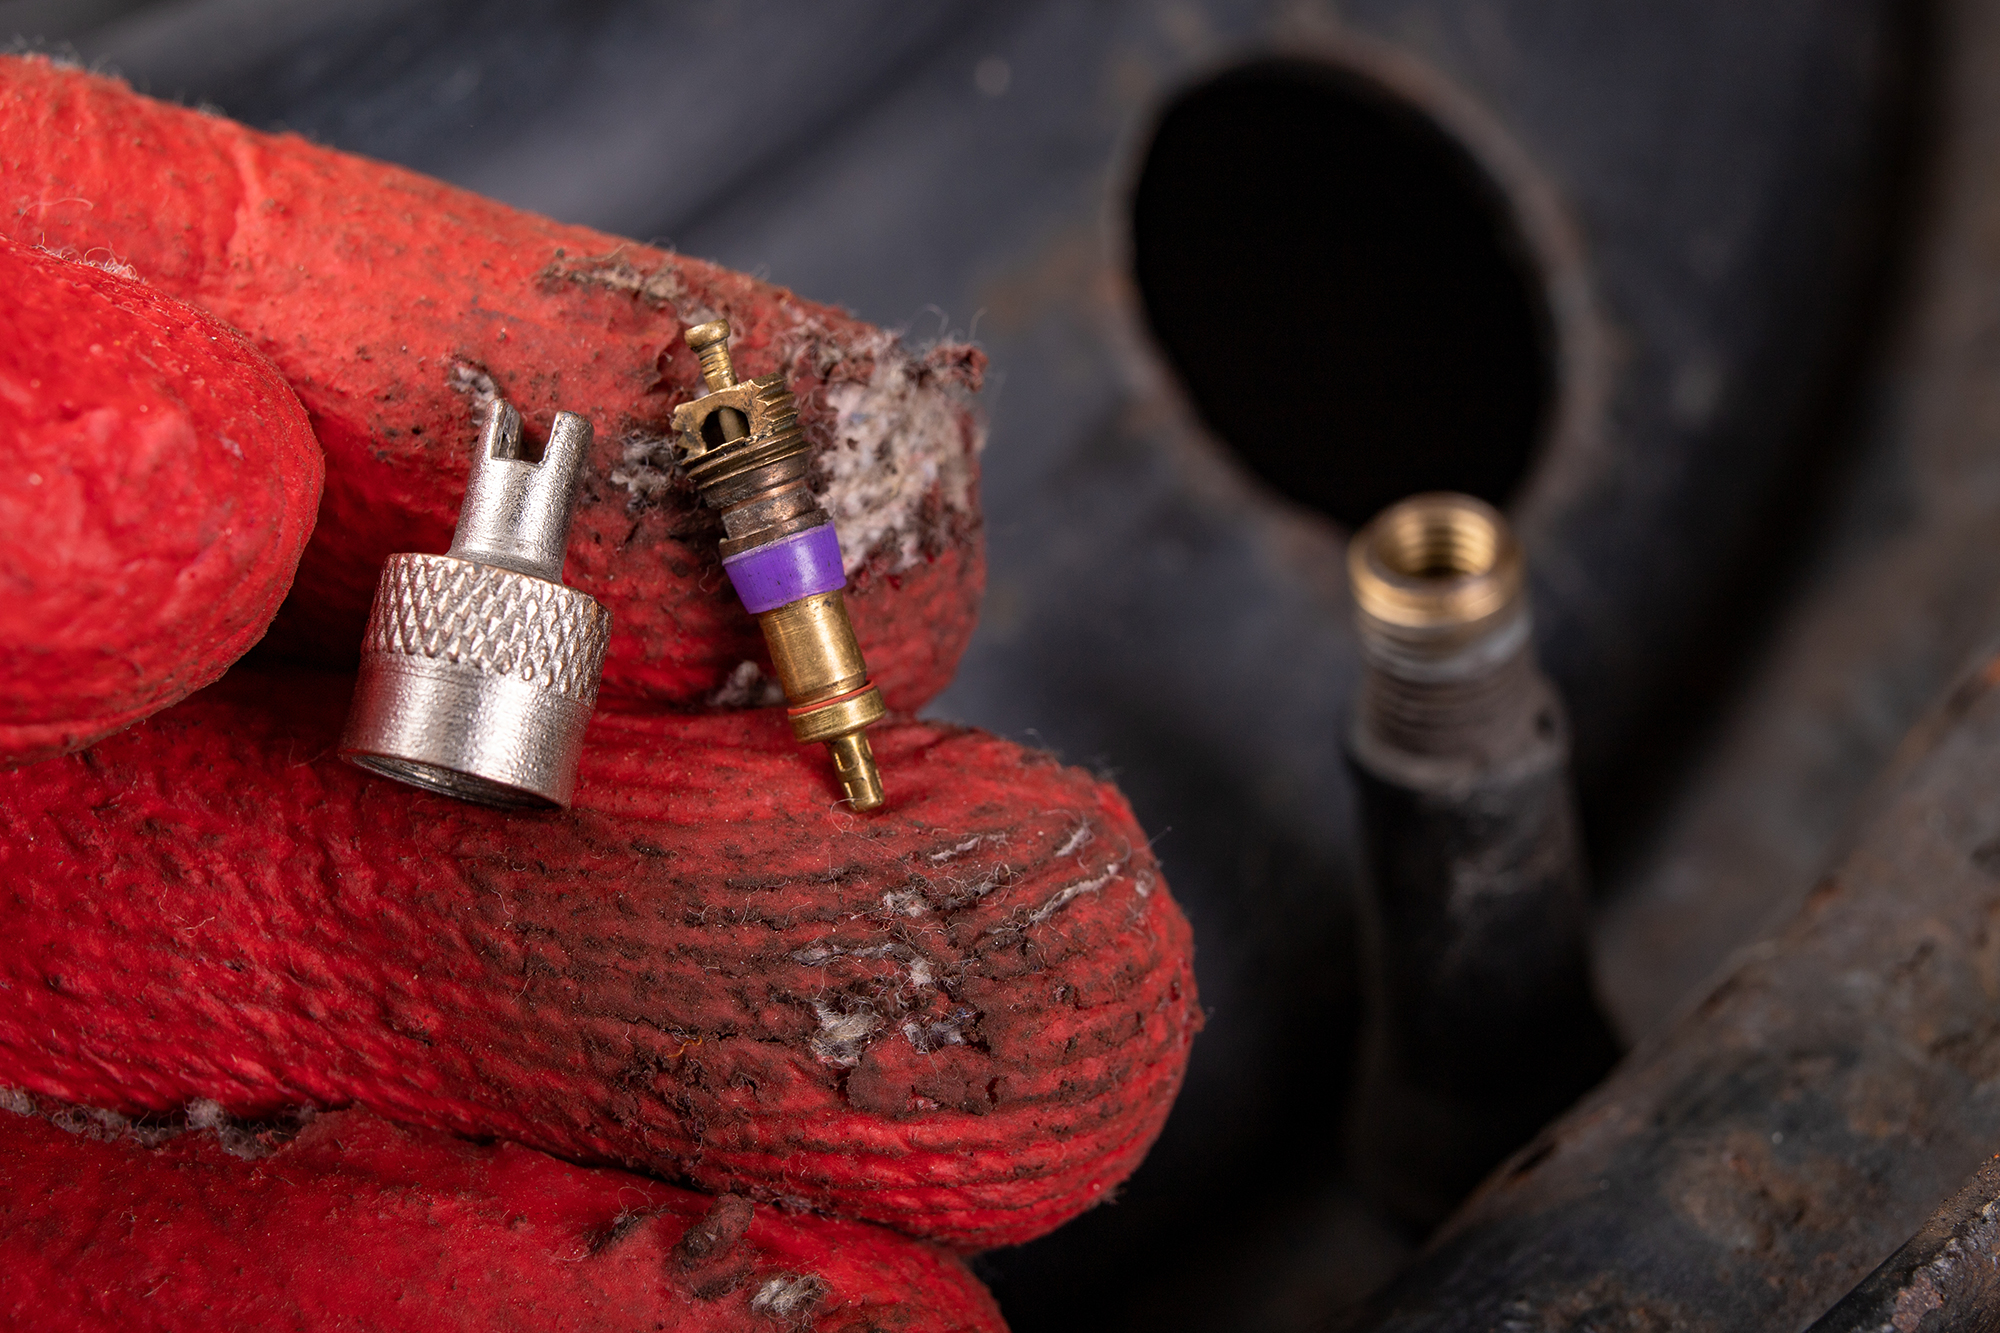
Here’s what each part of the valve stem does:
- Valve stem caps. The cap keeps moisture and dirt from getting inside. Valve stem caps can be made from plastic or metal depending on the application. A missing cap shouldn’t cause the air to escape, but you still want to replace it to prevent damage to the valve core.
- Valve cores. This is the primary seal inside the stem. It keeps the pressure inside the tire where it can’t escape. The core is screwed into the chamber. Valve cores come in different lengths. The spring-loaded pin on the core is moveable, allowing air to be added or removed when depressed properly.
- Valve extensions. These metal or nylon extensions are needed if wheel covers are added to the vehicle. They extend the length of the stem by up to two inches.
The construction of the valve stem is slightly different with a tire pressure monitoring system (TPMS). Most sensors use the valve stems to add and remove the air, but the construction is slightly different to integrate the sensor. TPMS is installed on most vehicles from the 2007 model year and newer.
Shop now for tire valve stems and capsDoes Your Tire Valve Stem Need to Be Replaced?
 Over time, the rubber of the valve stem can crack and dry out. If it becomes damaged, it will leak air at varying rates. For that reason, it’s always best to install new valve stems every time you get new tires.
Otherwise, inspect the valve stems regularly. Check them during other tire maintenance, such as rotation or wheel alignment. If you notice that the stem has damage when you flex it, it may be time for a replacement.
You should also replace the valve stem if it starts leaking—even if the leak is tiny.
Replacing a Valve Stem on a Tire: Step-by-Step
Most home mechanics should not attempt to replace valve stems on their own. To do the job right, you need specialized equipment. If you still plan to replace the valve stem at home, there are a few steps to follow.
1. Gather your materials.
To complete any automotive repair job, you should gather your tools and supplies beforehand. Otherwise, you may need to run to the auto parts store during repair.
Here’s a list of what you need to replace a valve stem.
- Air compressor and hose
- Floor jack or jack stands
- Lug nut wrench
- Needle nose pliers
- Tire changing machine
- Valve stem removal/installer tool
2. Loosen the lug nuts.
Loosen the lug nuts with your vehicle on a level surface. Make sure the parking brake is set so the car doesn’t move. If you have hubcaps on the wheel, these must be removed first.
With the wheel on the ground, loosening the lug nut is easier. The wheel will spin if you attempt to loosen them with the car already jacked up.
3. Lift the vehicle.
Place the floor jack under the vehicle and carefully lift it off the ground. It’s wise to have wheel chocks behind the wheels that remain on the ground.
Don’t rely on the floor jack to support your vehicle. Instead, place the jack stands at appropriate spots below the vehicle to support its weight. Carefully lower the vehicle down onto the jack stands.
4. Remove the valve stem.
With the vehicle off the ground, you can take the wheel off. Set it flat on the ground, with the outer part of the wheel facing up. Take the cap off the valve stem. Remove the core with your valve stem removal tool to release all the air.
5. Break the bead.
With a bead breaker, separate the bead of the tire from the wheel. Follow the instructions with the bead breaker for the best results. You should hear a popping or cracking sound as the bead breaks. You’ll also see the inner lip of the tip separate from the wheel.
6. Replace the valve stem.
After breaking the bead, grab your tool to remove the valve stem from the wheel. Pull the new valve stem into place with the installer tool. It should pop into place. Be careful not to tear it during installation.
7. Inflate the tire.
It’s time to reseat the tire bead. If you don’t have access to a tire changer, it can be difficult. There are methods listed online to reseat the bead, but most of them are dangerous. Inflate the tire based on the psi recommendations of the manufacturer. You can find this information on the driver’s side door jamb.
8. Check the valve stem for leaks.
After the tire is inflated and back on the wheel, check it for leaks. You can spray it with a water and soap solution to ensure nothing bubbles. If you see bubbles, you need to install a new valve stem.
If no leaks are found, put the tire and wheel back on the car. Tighten the lug nuts slightly and lower the vehicle back to the ground. Once the vehicle is on the ground, secure the lug nuts.
Cost to Replace a Valve Stem
Valve stems only cost about $5 each. You won’t have to pay anything extra if you can replace the valve stem yourself, but you probably don’t have all of the professional equipment needed to do the job right.
Tire shops can replace valve stems for around $25. If you don’t want to put the time into doing it yourself, it may be worth the extra cost.
Shop now for tire valve stems and caps