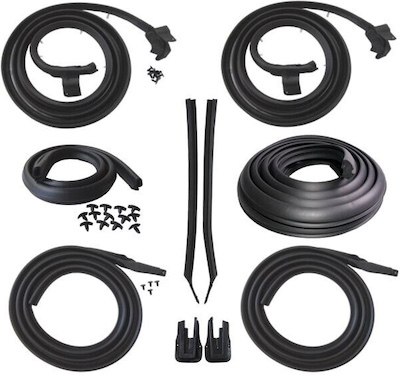
Weather Stripping Kits
eBay Motors is full of listings from top merchants that provide weather stripping kits specifically designed for your vehicle. Here’s the most important advice we can provide: Quality matters.
Look for companies that make replacement pieces designed specifically for your make and model. Don’t settle for “universal” pieces that might not fit. Stick with trusted vendors and proven products that come with a warranty, like these guys:
Metro Moulded Parts has been in the restoration rubber parts business since the early 1960s. Its roots run back to 1918 when the company started as the Hutchinson Rubber Company in Hutchinson, Minn. Metro kits use soft sponge rubber. They are made in the US, and its Supersoft Platinum Series has a 30-year replacement policy.
Steele Rubber Products, based in Denver, N.C., specializes in domestic vehicles. It has produced high-quality weather strips and rubber parts since the 1960s. “Make sure you have the exact vehicle information before you place your order,” said Matt Agosta, president of Steele Rubber Products. “Don’t throw anything away before the new weather strip arrives. You’ll want to carefully compare the original and the replacement by matching up the pins and joints.”
Shop now for weather stripping kitsUse the Right Tools
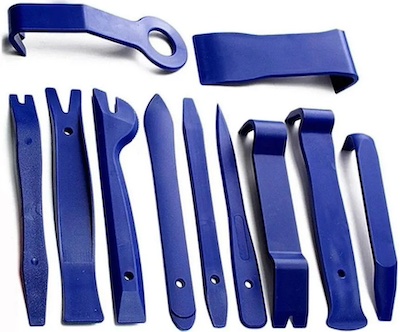 Removing the old weather stripping is a breeze with the right trim replacement tools. Take extra care when scraping away old material to avoid scratching the paint. Once the original rubber and adhesive are removed, clean the area (and the new weather stripping) with an alcohol swab to ensure proper adhesion of the replacement product.
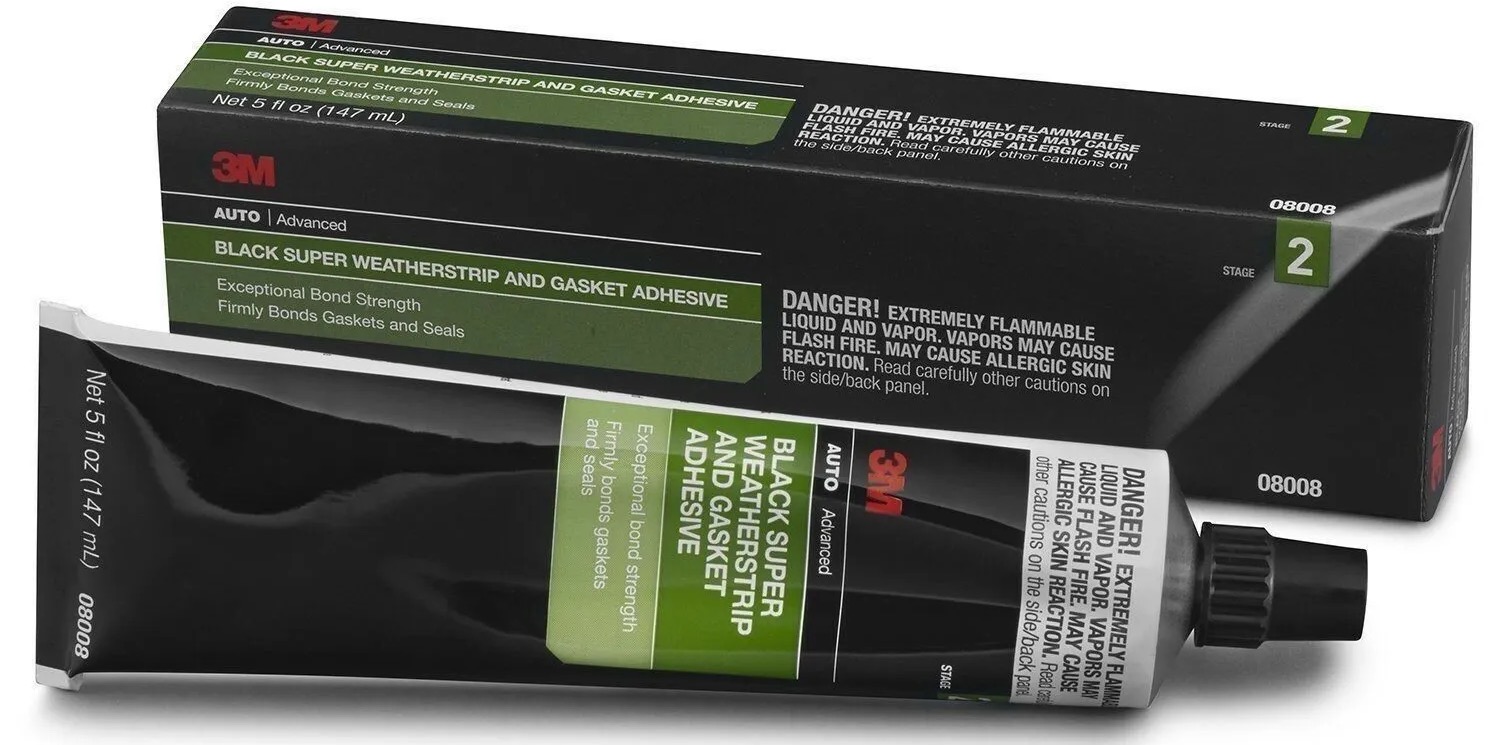
There are two standard methods of adhesion. For the cleanest install, use a tube of specialty adhesive, like 3M Black Super Weather Strip and Gasket Adhesive. To get the job done faster, use a roll of high-strength double-sided tape like 3M VHB. Some weather strip products are sold with double-stick tape already applied. Depending on the application, clips and pins may or may not be included with a kit.
Shop now for trim removal tools10 More Weather Stripping Tips
- Use 3M Specialty Adhesive Remover to soften the old adhesive and eliminate residue.
- Plastic razor blades and scrapers are the best tools for removing old rubber and adhesives. Avoid using metal scrapers, which can harm the paint surface.
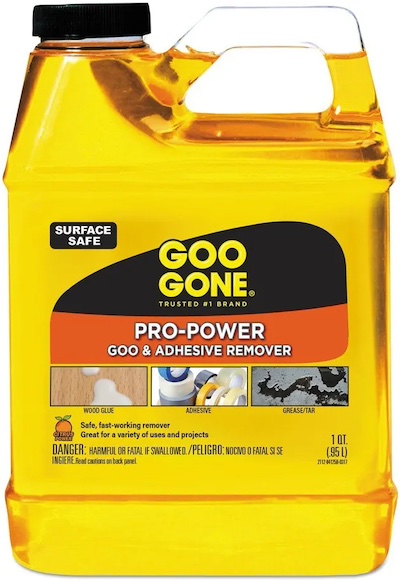
- Goo Gone can help with cleanup after old material is removed. After the cleanup, wash the area with soapy water and dry thoroughly.
- Leave the weather stripping out in the sun for a day to increase flexibility and eliminate any bends or creases that may occur during shipping.
- Test fit the weather stripping over the vehicle (before applying the adhesive) to ensure each piece is in the correct location.
- If you are inserting weather stripping into a metal channel, some manufacturers suggest using silicone spray or a soap and water mixture to help slip the rubber into the metal piece. Read instruction guides for specific instructions.
- Apply the adhesive with a paint stick or craft (popsicle) stick. Use thin coats of adhesive on the new weather stripping and vehicle. Let the surfaces tack up, then apply another thin coat before affixing it to the vehicle. This technique will provide maximum adhesion and minimize cleanup.
- Clean the new weather stripping after the adhesive has hardened. Some rubber will bleed paraffin, which looks like hardened candle wax. Use a solvent to remove any visible paraffin carefully. Do not use gasoline or kerosene, as the rubber will absorb them, reducing its usable life.
- As a final step, wipe down with mild soap and water, and then apply a rubber and vinyl protectant with a damp rag. Spray the protectant on the rag, not on the rubber. The protectant will help ensure that your hard work pays off for many seasons to come.
- Apply the protectant yearly to help maintain the condition of the weather stripping.
Whether you need to replace one piece or a complete set, maintaining your vehicle’s weather stripping is essential.
Shop now for weather stripping kits