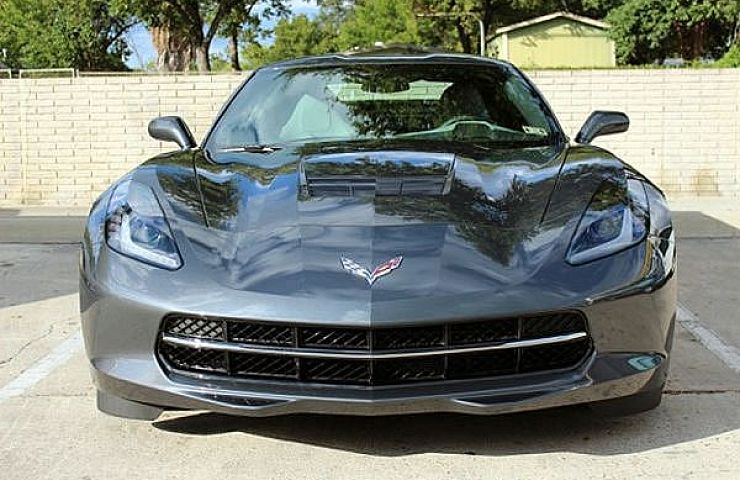
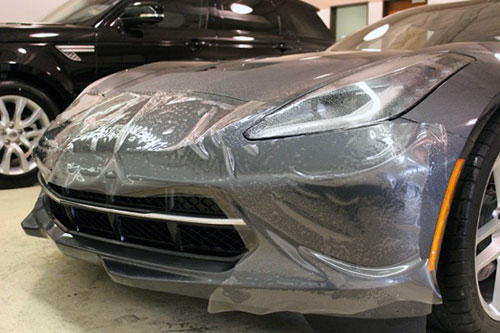
Routine waxing gives your vehicle good protection against airborne dirt and acid rain, but the only way to avoid rock chip damage is protective film. Also known as clear bra material, the film shields painted surfaces, headlamps, and tail lamps from scratches and chips due to direct impact.
It eliminates paint trading in parking lots. The film can also protect trunk lips and rear bumpers that tend to get damaged when unloading luggage, golf bags, bicycles and other large items. Ditto for door sills that take a daily beating from high heels. In addition to preventing pitting around the front of a car, the film prevents headlamp lenses from oxidizing in areas of the country where there is strong year-round sunlight.
“Our 30 millimeter film that we recommend for off-road use can take a 120 mile-per-hour stone hit,” explained Eric Keller, vice president at XPEL Technologies, a Texas-based manufacturer specializing in these products. XPEL’s material doesn’t yellow over time: an advantage over competitive products. The XPEL material also has a minor impact on aerodynamics. Since the film is dimpled like a golf ball, it decreases aerodynamic drag over the car’s surfaces.
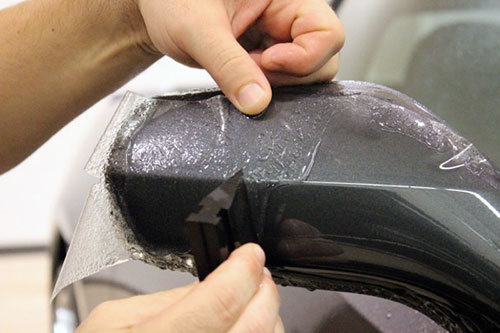
Keller explained that the choice between doing the installation yourself or hiring an installer depends on the area being covered. Small areas such as headlamps, tail lamps, door sills, and door edges are easy DIY weekend jobs. But areas with multiple complex curves such as bumpers and hoods require professional installers.
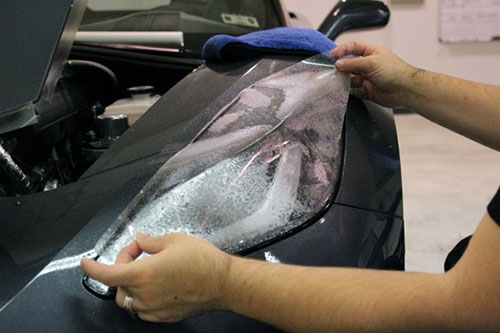
Installing the thicker off-roading film requires a heat gun or hairdryer.
The film requires 24 hours to cure following installation. After that, it should protect the paint surfaces for the life of the vehicle. “Just don’t use a power washer two or three inches from the film or it will create a lifting edge,” explained Keller.
For more information on protective films and installation, visit the XPEL website. And see eBay Motors for XPEL film products.

